Getting Started
Pod is a free, native EVE Online companion. This page covers installing it on your operating system, what you see on first launch, and how to add your first character through EVE's single sign-on. By the end you will have one character on the roster and Pod syncing its data from ESI.
Install Pod
Download the build for your operating system from the releases page, then follow the steps below. Pod ships as a separate artifact per platform, so pick the one that matches your machine.
macOS
Open the downloaded .dmg and drag Pod into your Applications folder. The first
time you open it, macOS Gatekeeper blocks the app because the build is not
notarized through Apple's paid developer program. You see a dialog saying Pod
"cannot be opened because the developer cannot be verified."
To run it anyway, open System Settings, go to Privacy and Security, and scroll to the Security section. After your first blocked launch you see a line mentioning Pod with an "Open Anyway" button. Click it, then confirm in the prompt that follows. macOS remembers the choice, so later launches open normally.
Windows
The Windows build is an MSI installer. Double-click it and follow the prompts to choose an install location and finish. Windows SmartScreen may warn that the publisher is unrecognized because the installer is not signed with a paid certificate. Click "More info" and then "Run anyway" to continue. When the installer finishes, Pod is available from the Start menu.
Linux
The Linux build is an AppImage, a single self-contained file. Make it executable and run it:
chmod +x Pod-*.AppImage
./Pod-*.AppImage
No system-wide install is required. You can move the AppImage anywhere and run
it from there. If your desktop does not register the eveauth-pod:// link
handler automatically, the sign-in step described below still works as long as
your browser can hand the callback back to a running Pod.
First launch
The very first time you open Pod, it runs a short setup wizard before anything else. The wizard collects your language, which features to run, and where Pod stores its files, then hands you straight into the app. It is a one-time step, so later launches skip it and go to the splash described below. The Onboarding page walks through every wizard screen.
After you finish the wizard, and on every launch after that, Pod shows a splash screen while it gets ready. The splash runs the startup work before the main window opens, so you do not interact with the app yet.
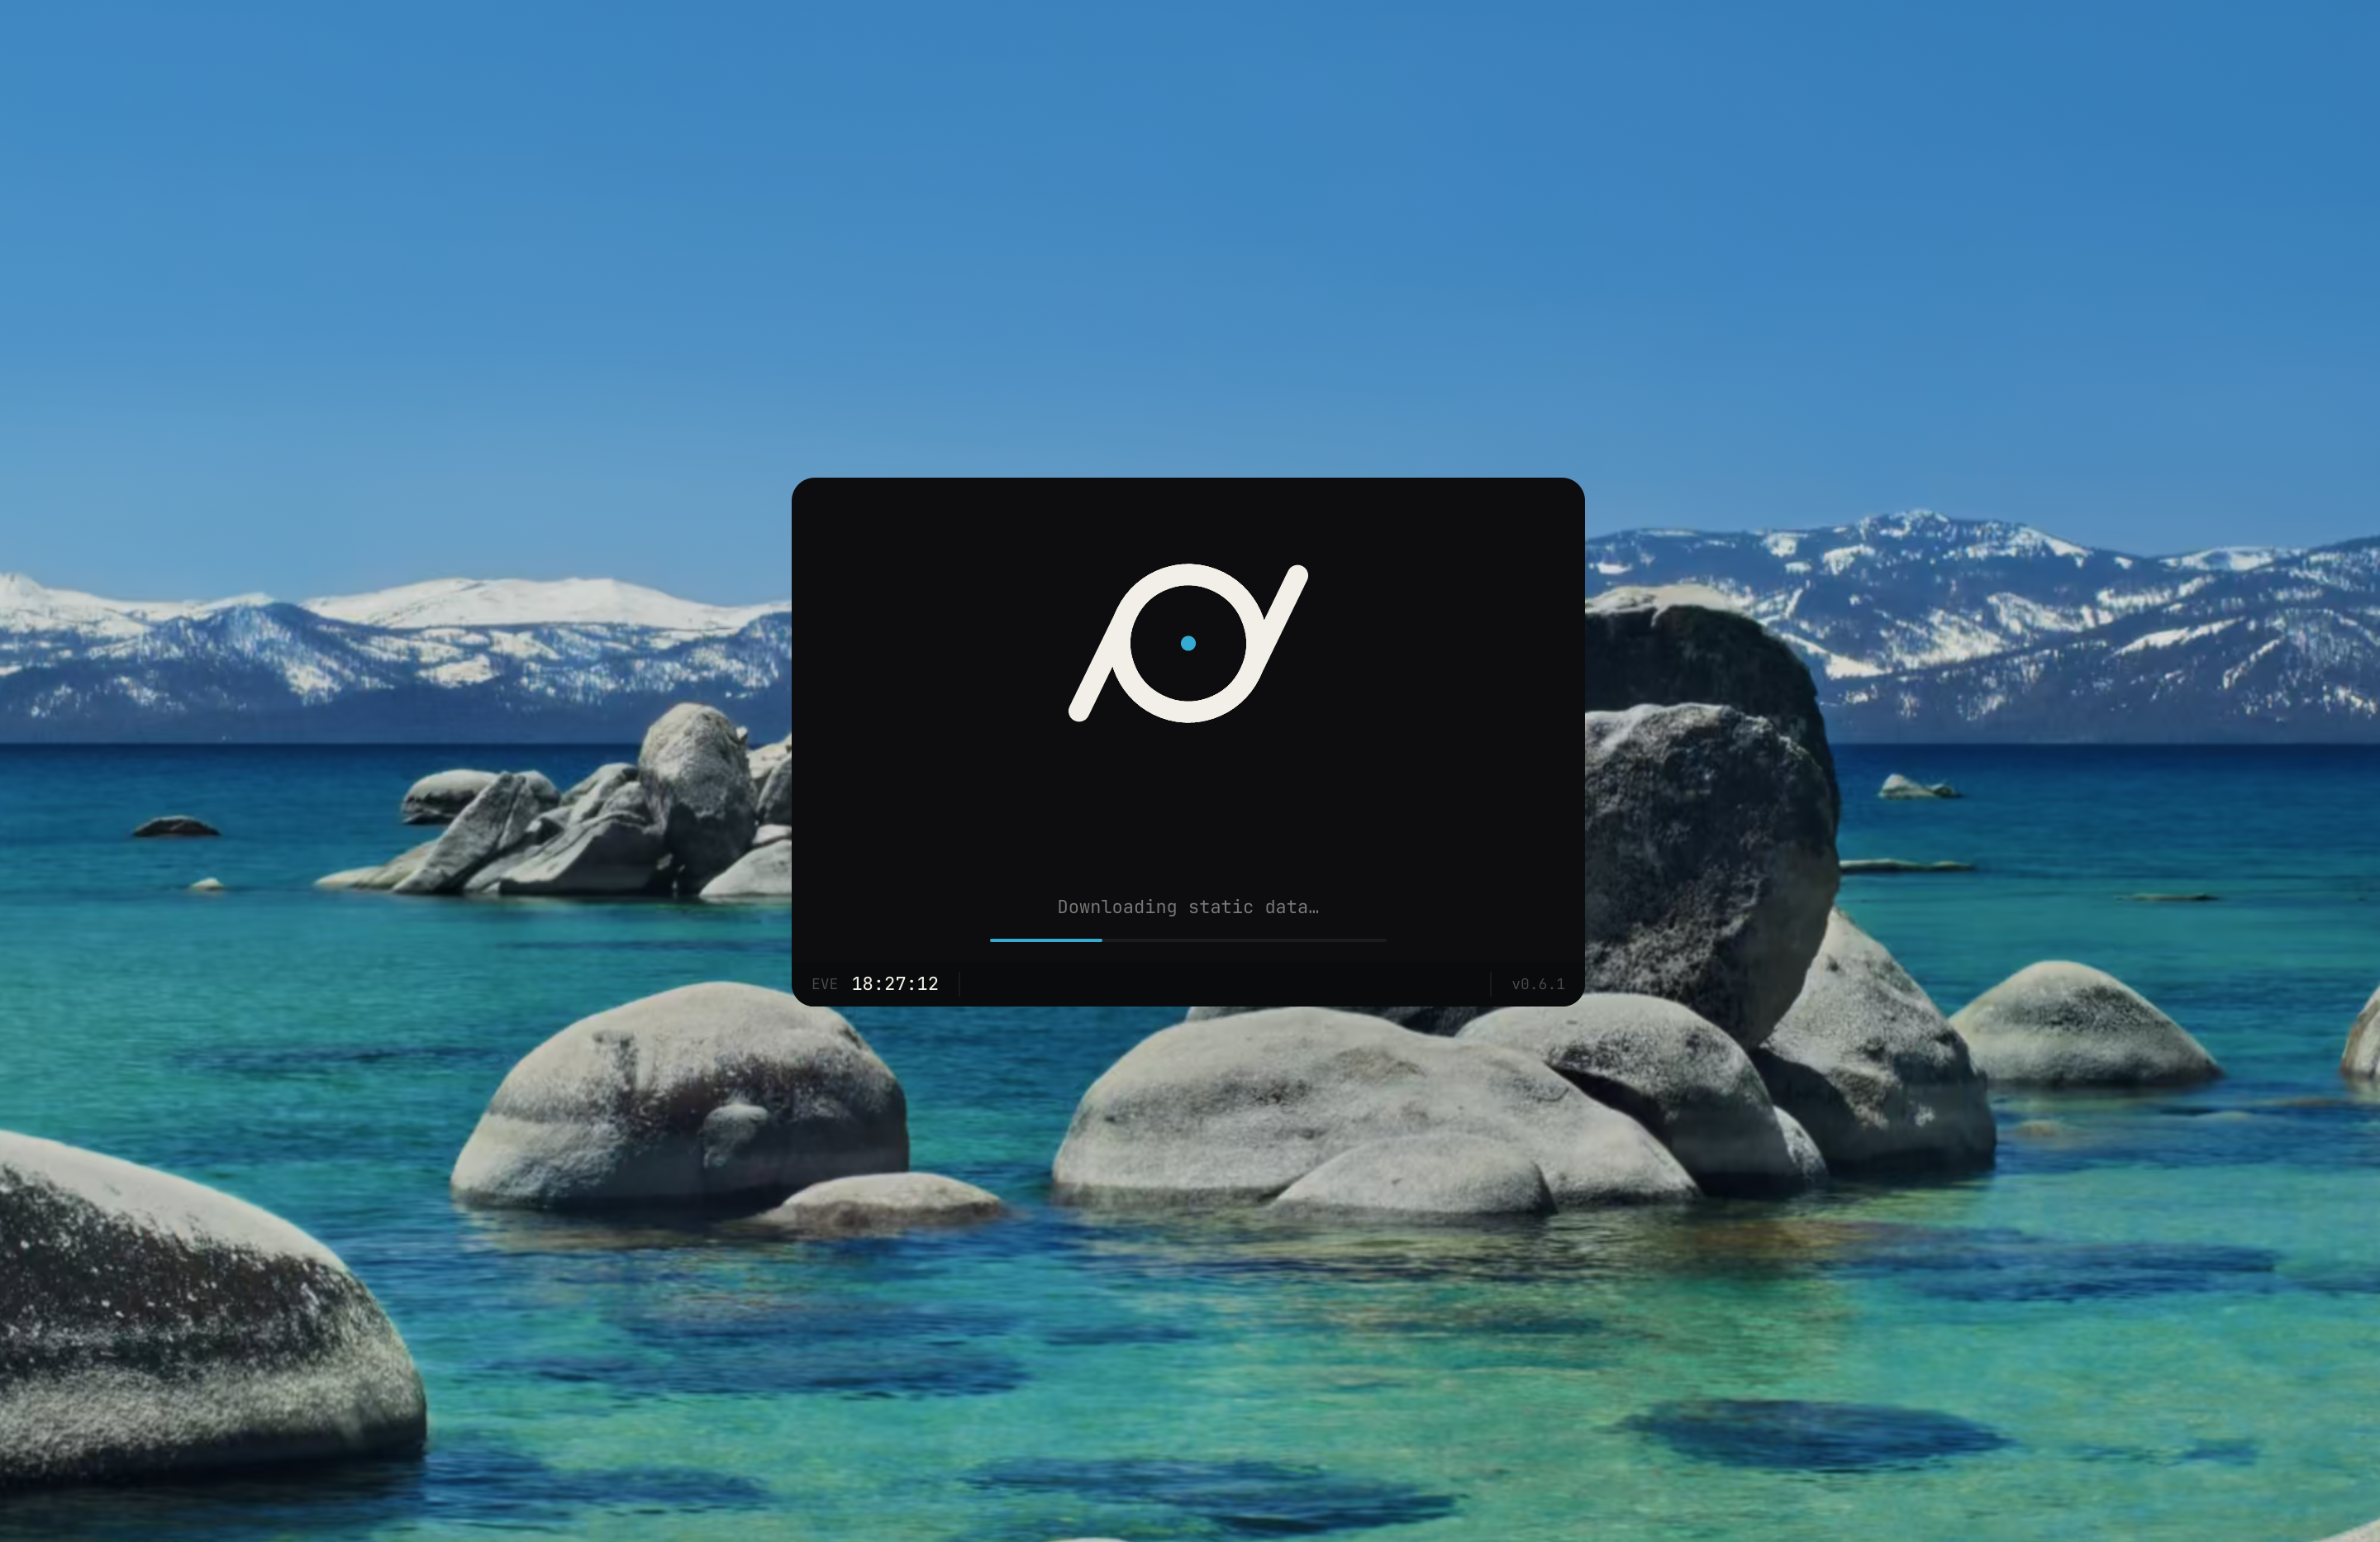
On the very first run, Pod downloads and seeds EVE's static data export. This is the reference data Pod uses to turn raw IDs from ESI into names you recognize: item types and categories, market groups, regions, constellations, solar systems, NPC stations, factions, races, bloodlines, blueprints, and more. The splash shows the current step as short status lines such as "Downloading static data", "Seeding item types", "Seeding solar systems", and "Seeding blueprints", with a progress indicator that fills as it works.
Seeding only happens when the reference data is missing or out of date, so the first launch takes longer than later ones. If a seed step fails but usable data already exists from a previous run, Pod continues with what it has rather than blocking you. If startup fails outright, the splash shows the error and a "Retry" button.
When startup finishes, the splash reads "READY." and the main window opens onto your roster.
The empty roster
On a fresh install the roster has no characters. Pod shows a centered message that reads "No characters yet" with the line "Add a character to start syncing." below it. Nothing syncs until you add a character, because every piece of character data comes from EVE's API and requires your authorization.
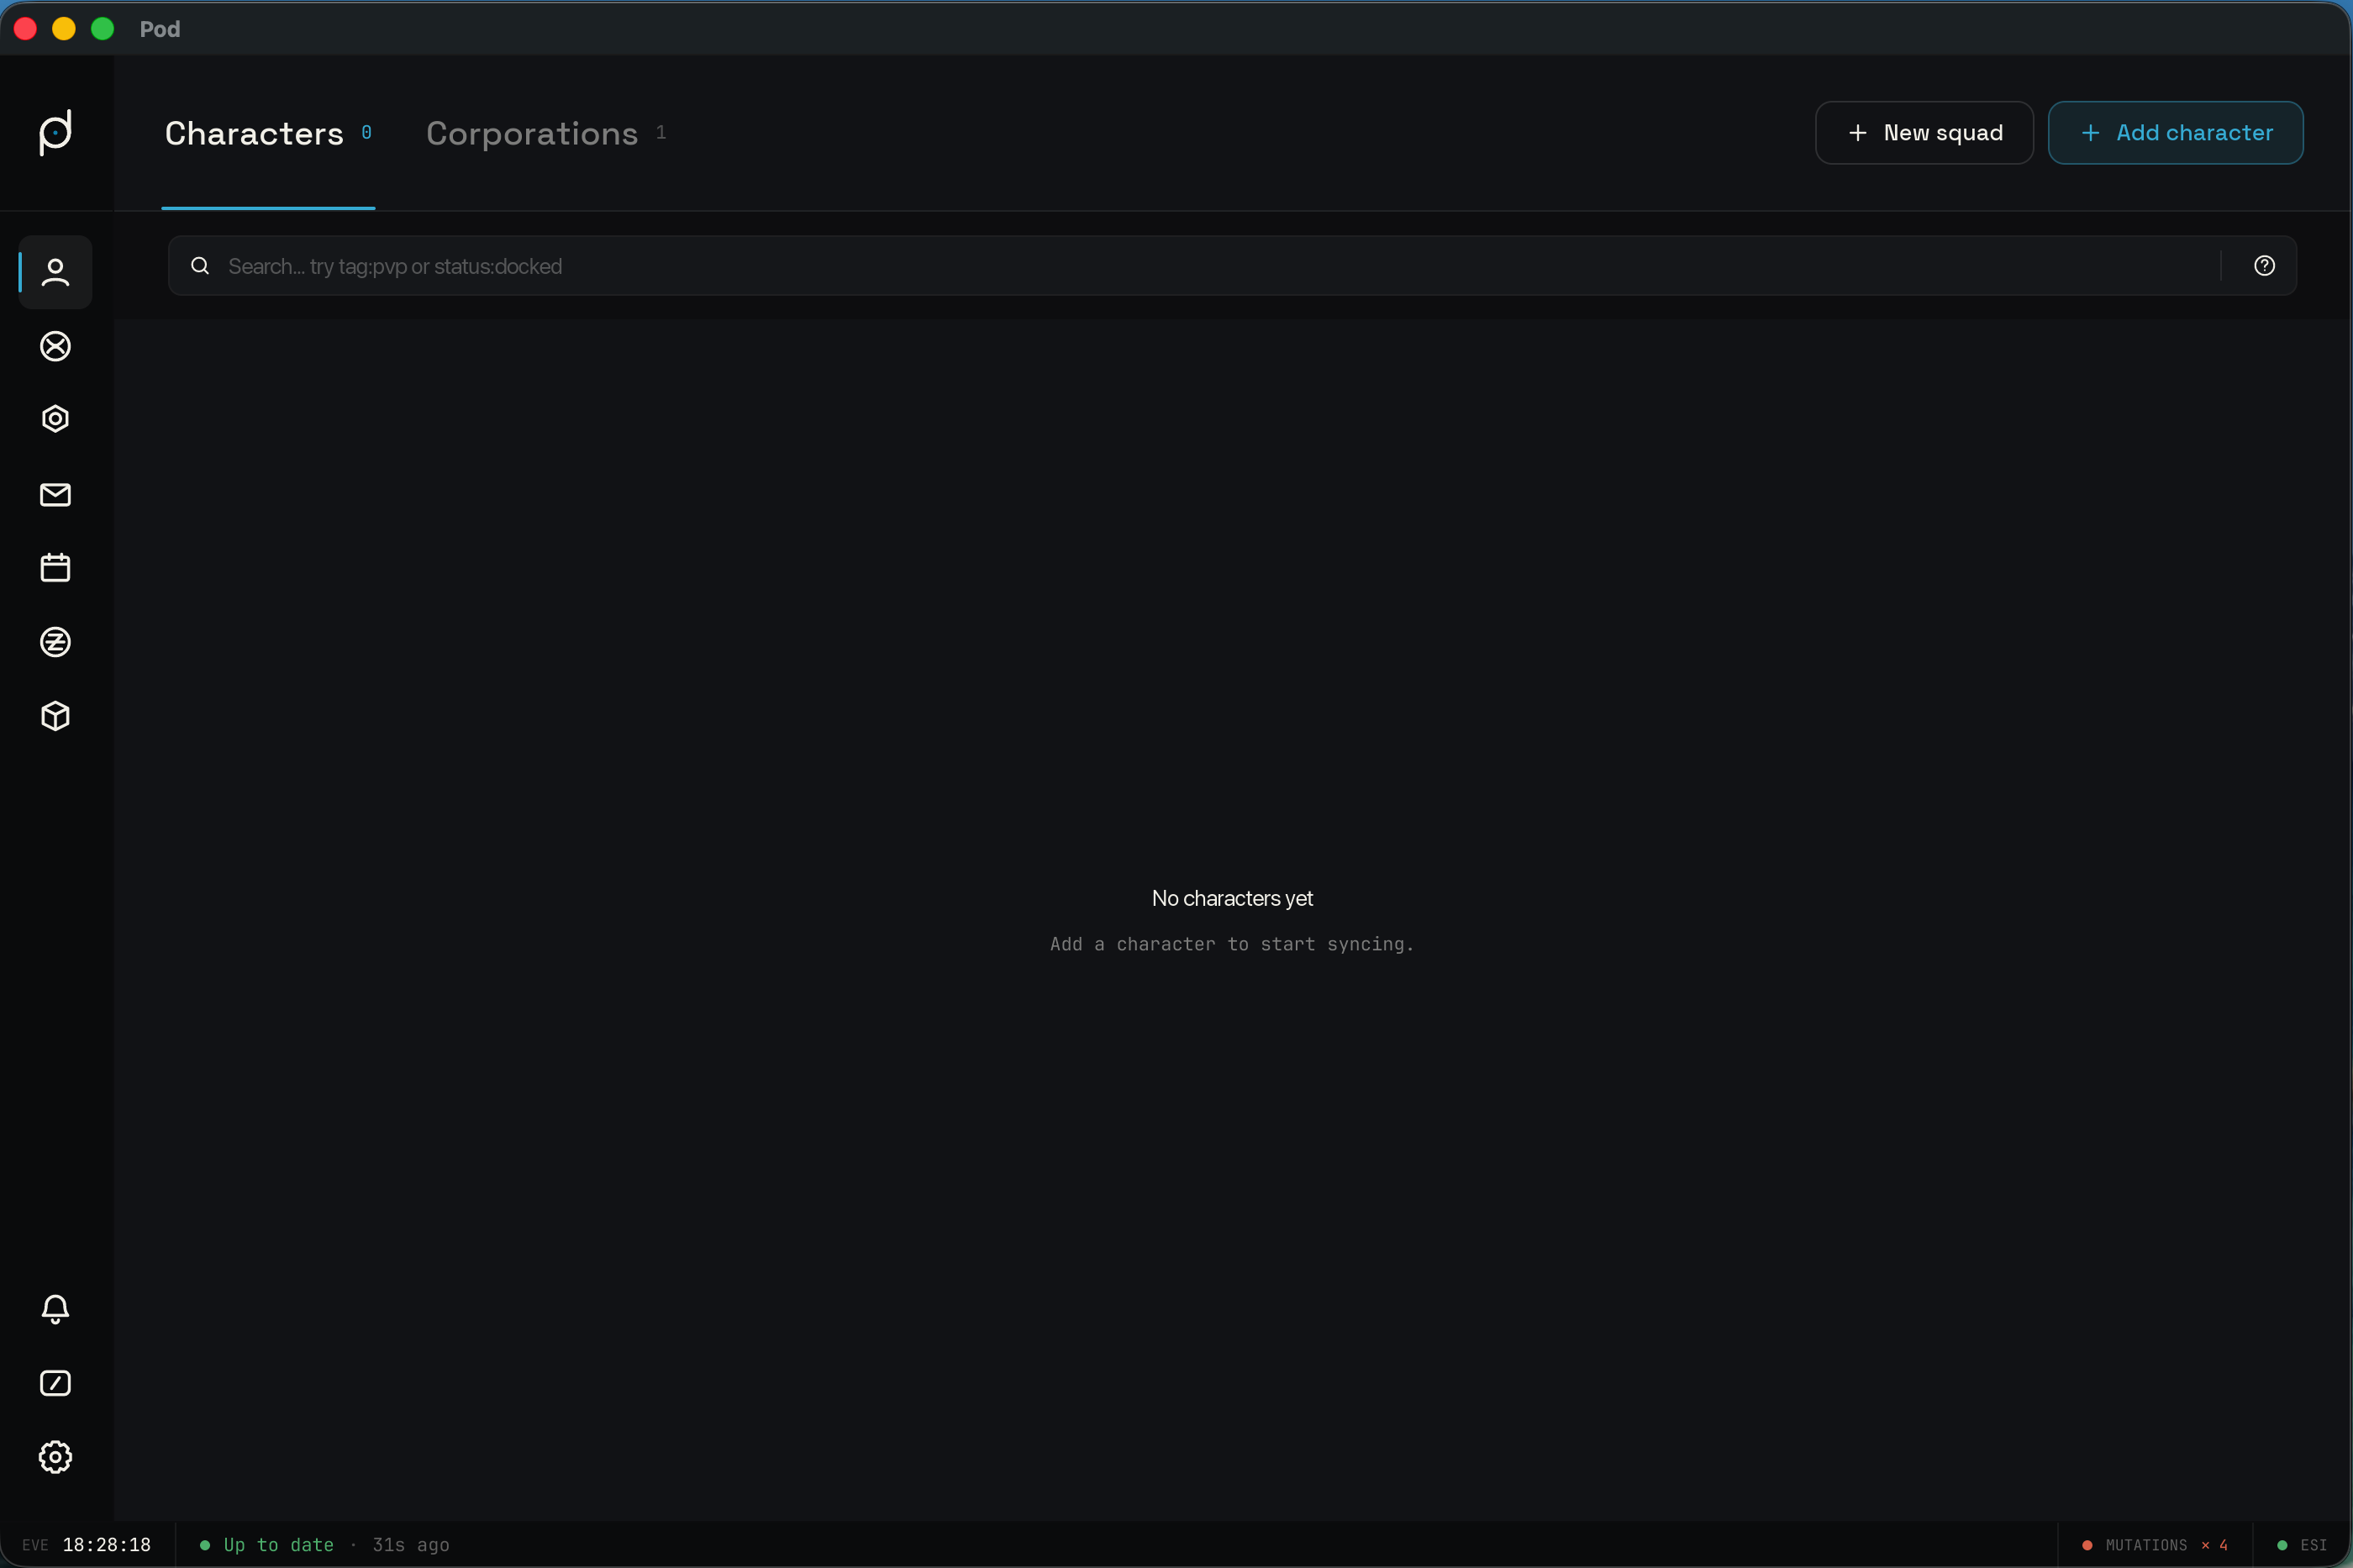
To start, find the "Add character" button. It is the control with a plus sign and the label "Add character."
Add your first character
Pod reads your character data from EVE's ESI API. EVE controls access to that data through single sign-on, so you grant Pod permission by logging in with your EVE account and approving the request. Pod never sees your EVE password. The login happens on EVE's own site in your browser.
What the sign-in does
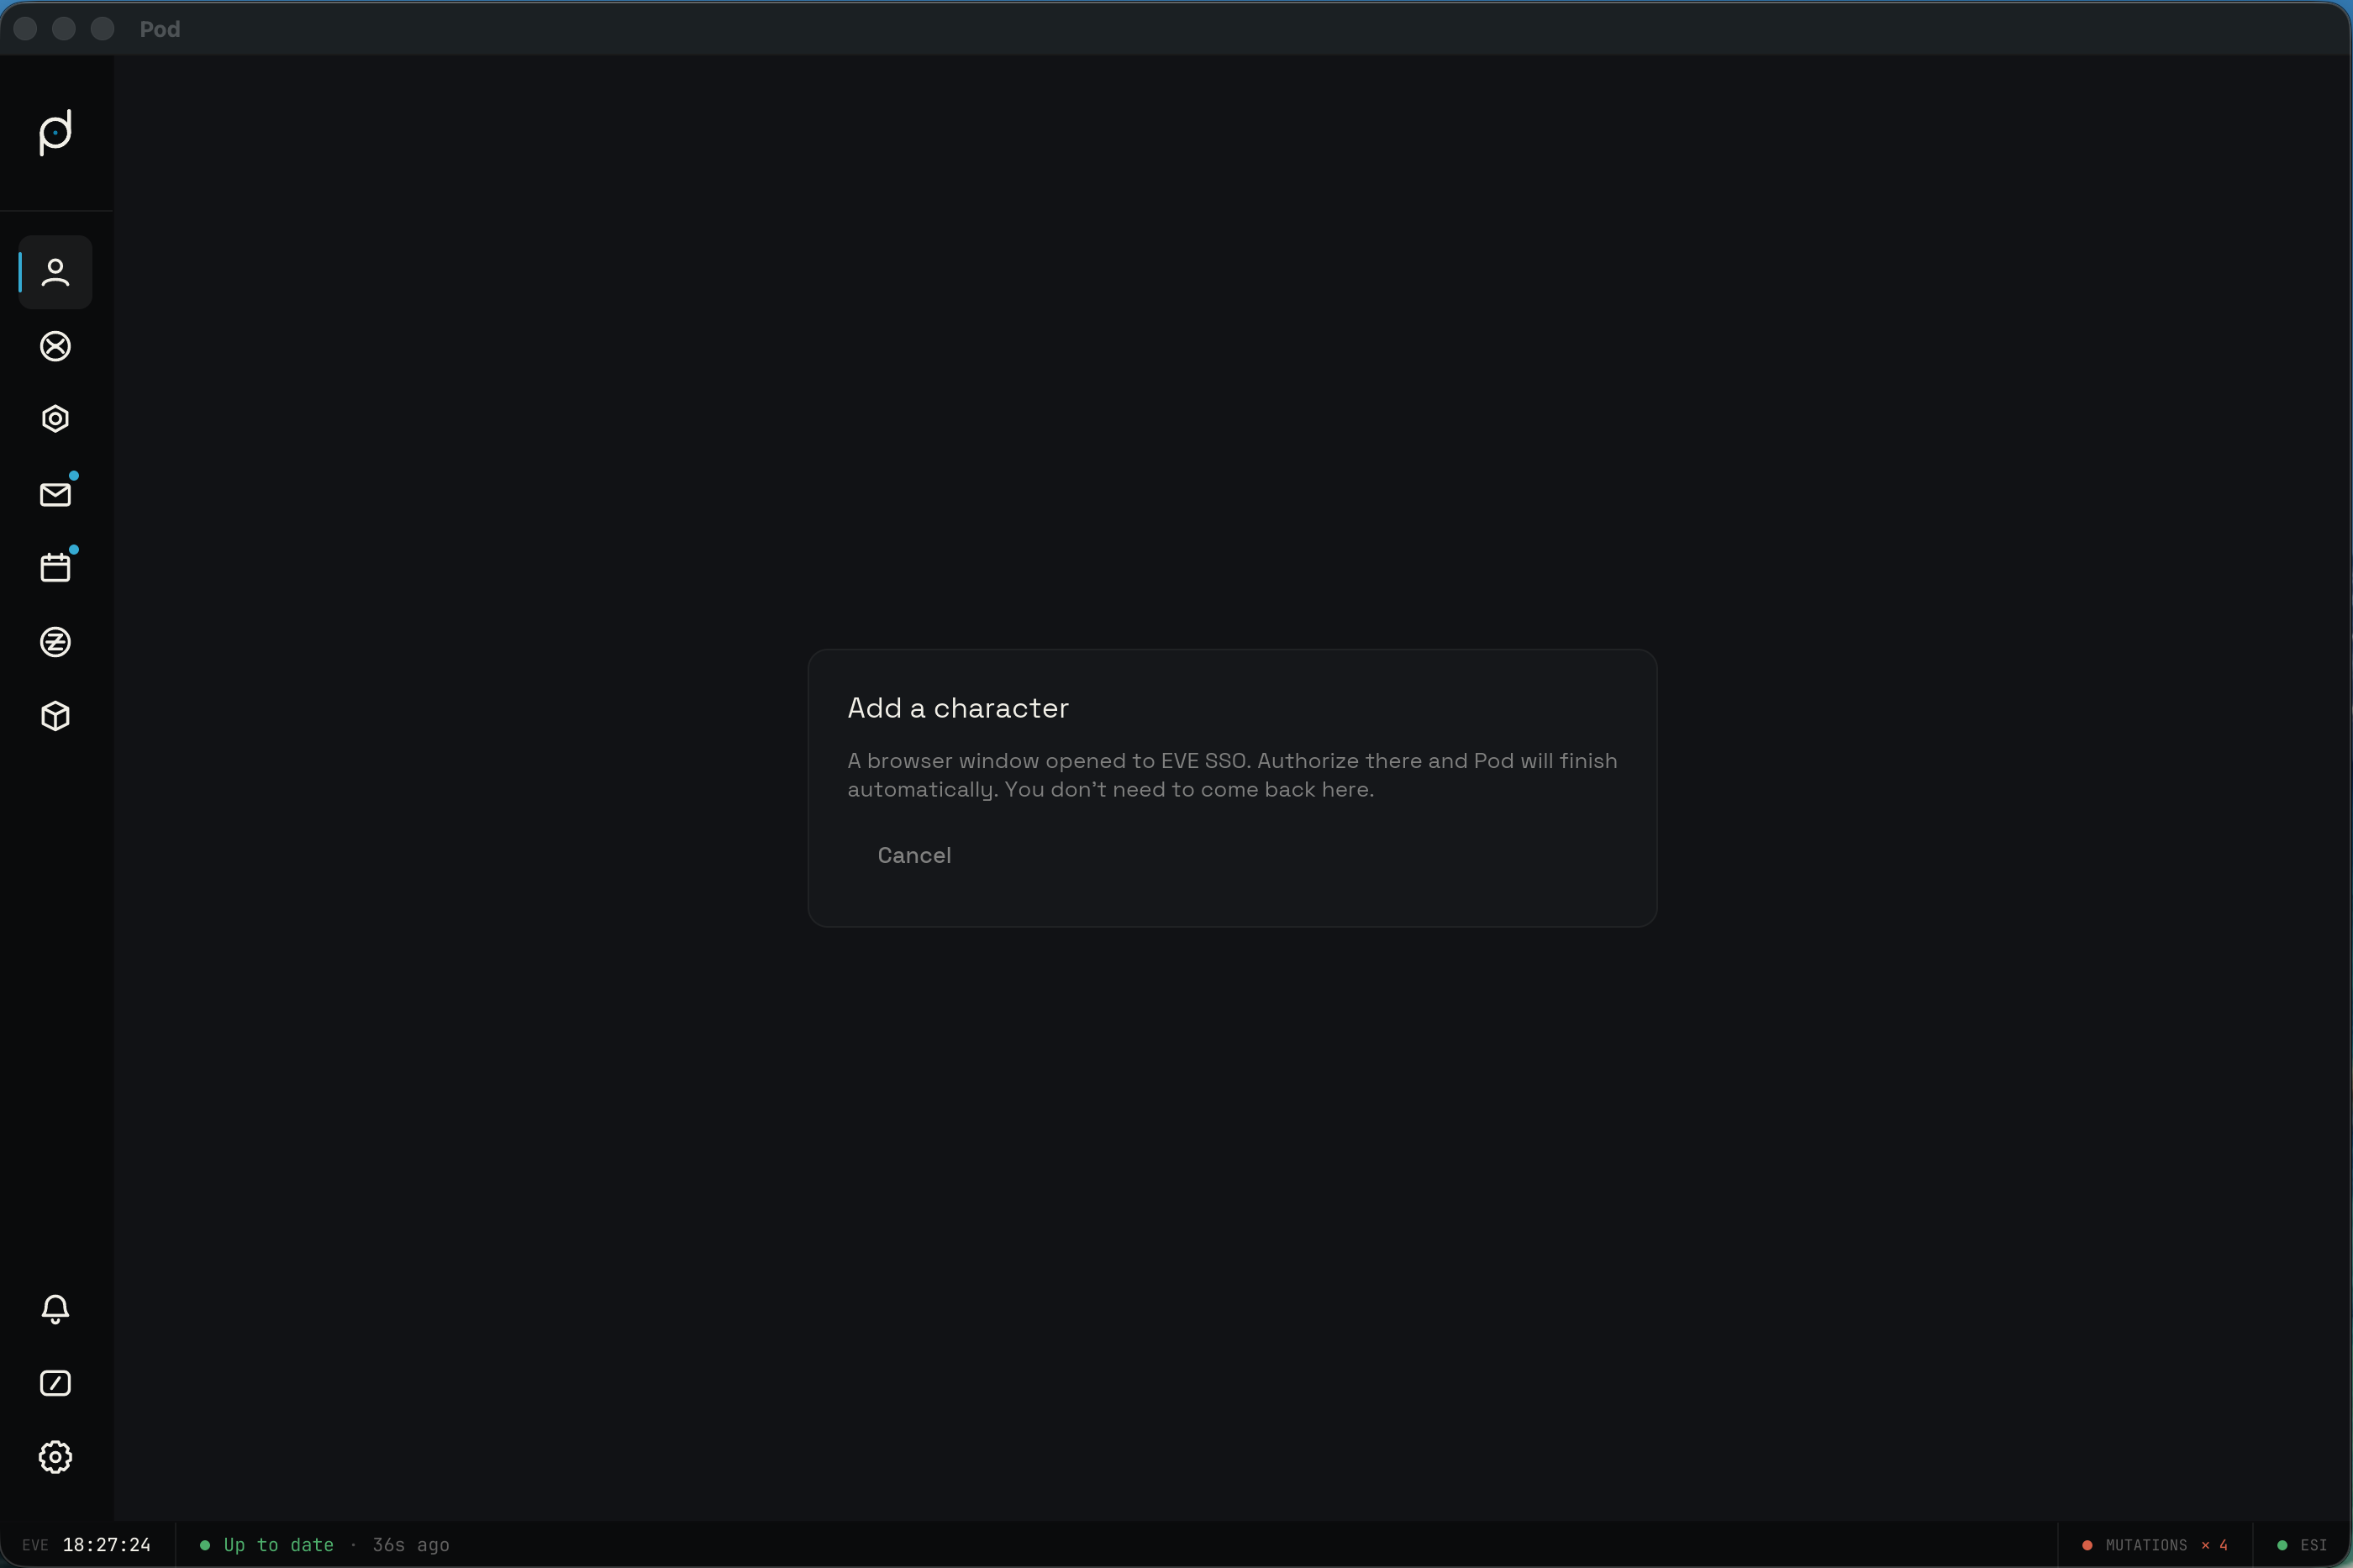
When you click "Add character," Pod opens a panel titled "Add a character" and launches your default web browser to EVE's single sign-on authorize page. The request uses PKCE, which means Pod generates a one-time secret and a random state value for this login and proves it owns them when it exchanges the result. This protects the exchange even though Pod is a desktop app rather than a server.
The authorize URL also lists the permissions Pod is asking for. These are ESI scopes: named, read-only or read-write grants that each cover a slice of your data. The set Pod requests depends on which features you have enabled. A character that uses the wallet feature includes a wallet read scope; one that uses mail includes mail scopes; and so on. Pod only asks for the scopes the enabled features actually need, so the consent screen reflects how you plan to use the app. You can review the full list on EVE's page before approving.
Authorize on EVE's site
In the browser, log in to your EVE account if you are not already, pick the
character you want to add, and review the requested permissions. Click EVE's
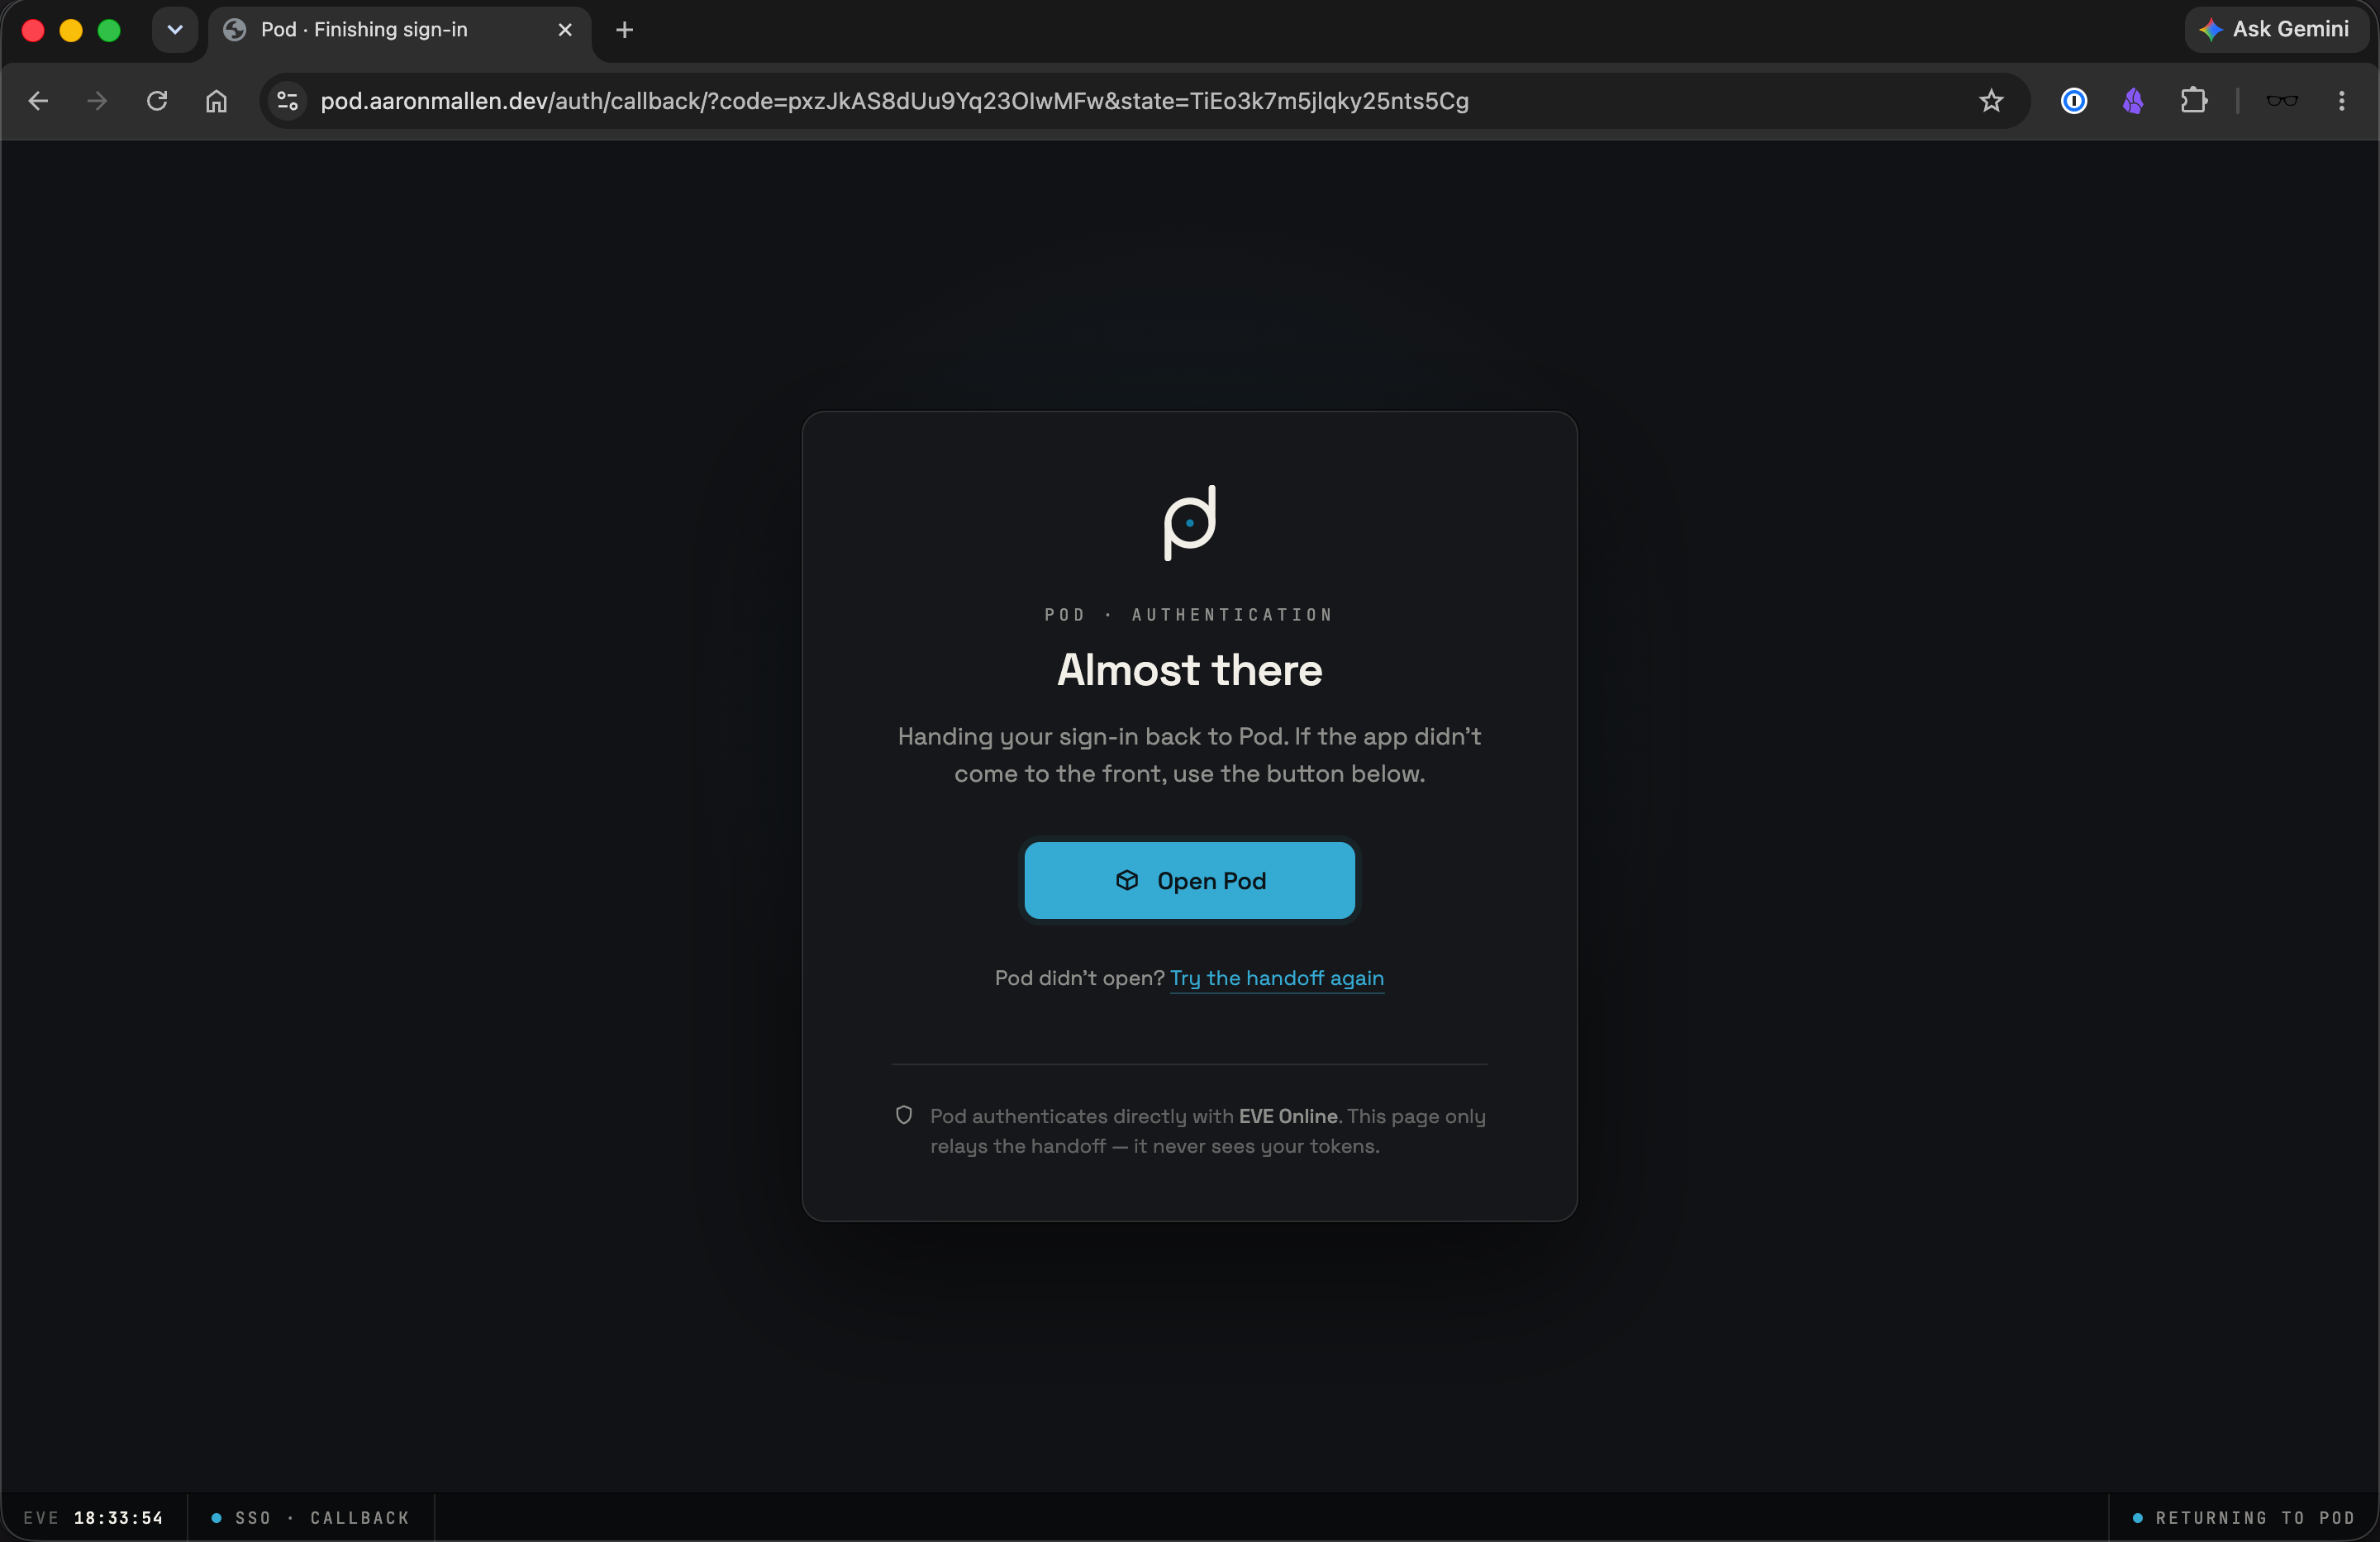
"Authorize" button to approve. EVE then redirects to Pod's callback address,
https://pod.aaronmallen.dev/auth/callback/, which hands the result back to the
running app through the eveauth-pod:// link handler. You do not need to copy
or paste anything.
Waiting for authorization
While the browser is open, Pod's panel shows a waiting state. It reads "A browser window opened to EVE SSO. Authorize there and Pod will finish automatically. You don't need to come back here." A "Cancel" button stays available the whole time, so you can back out if you change your mind or pick the wrong character.
When the callback comes back, Pod validates the state value it generated earlier, exchanges the authorization code for tokens, and reads your character's id and name from the signed token. During this step the panel reads "Signing you in." If anything fails, the panel shows the error in red with a "Try again" button next to "Cancel," so you can rerun the login without starting over.
Your first character
Once sign-in completes, Pod stores the access token, refresh token, expiry, and the set of granted scopes, then closes the panel. Your character appears on the roster as a card showing the portrait, name, corporation ticker, training, and wallet and skill-point totals.
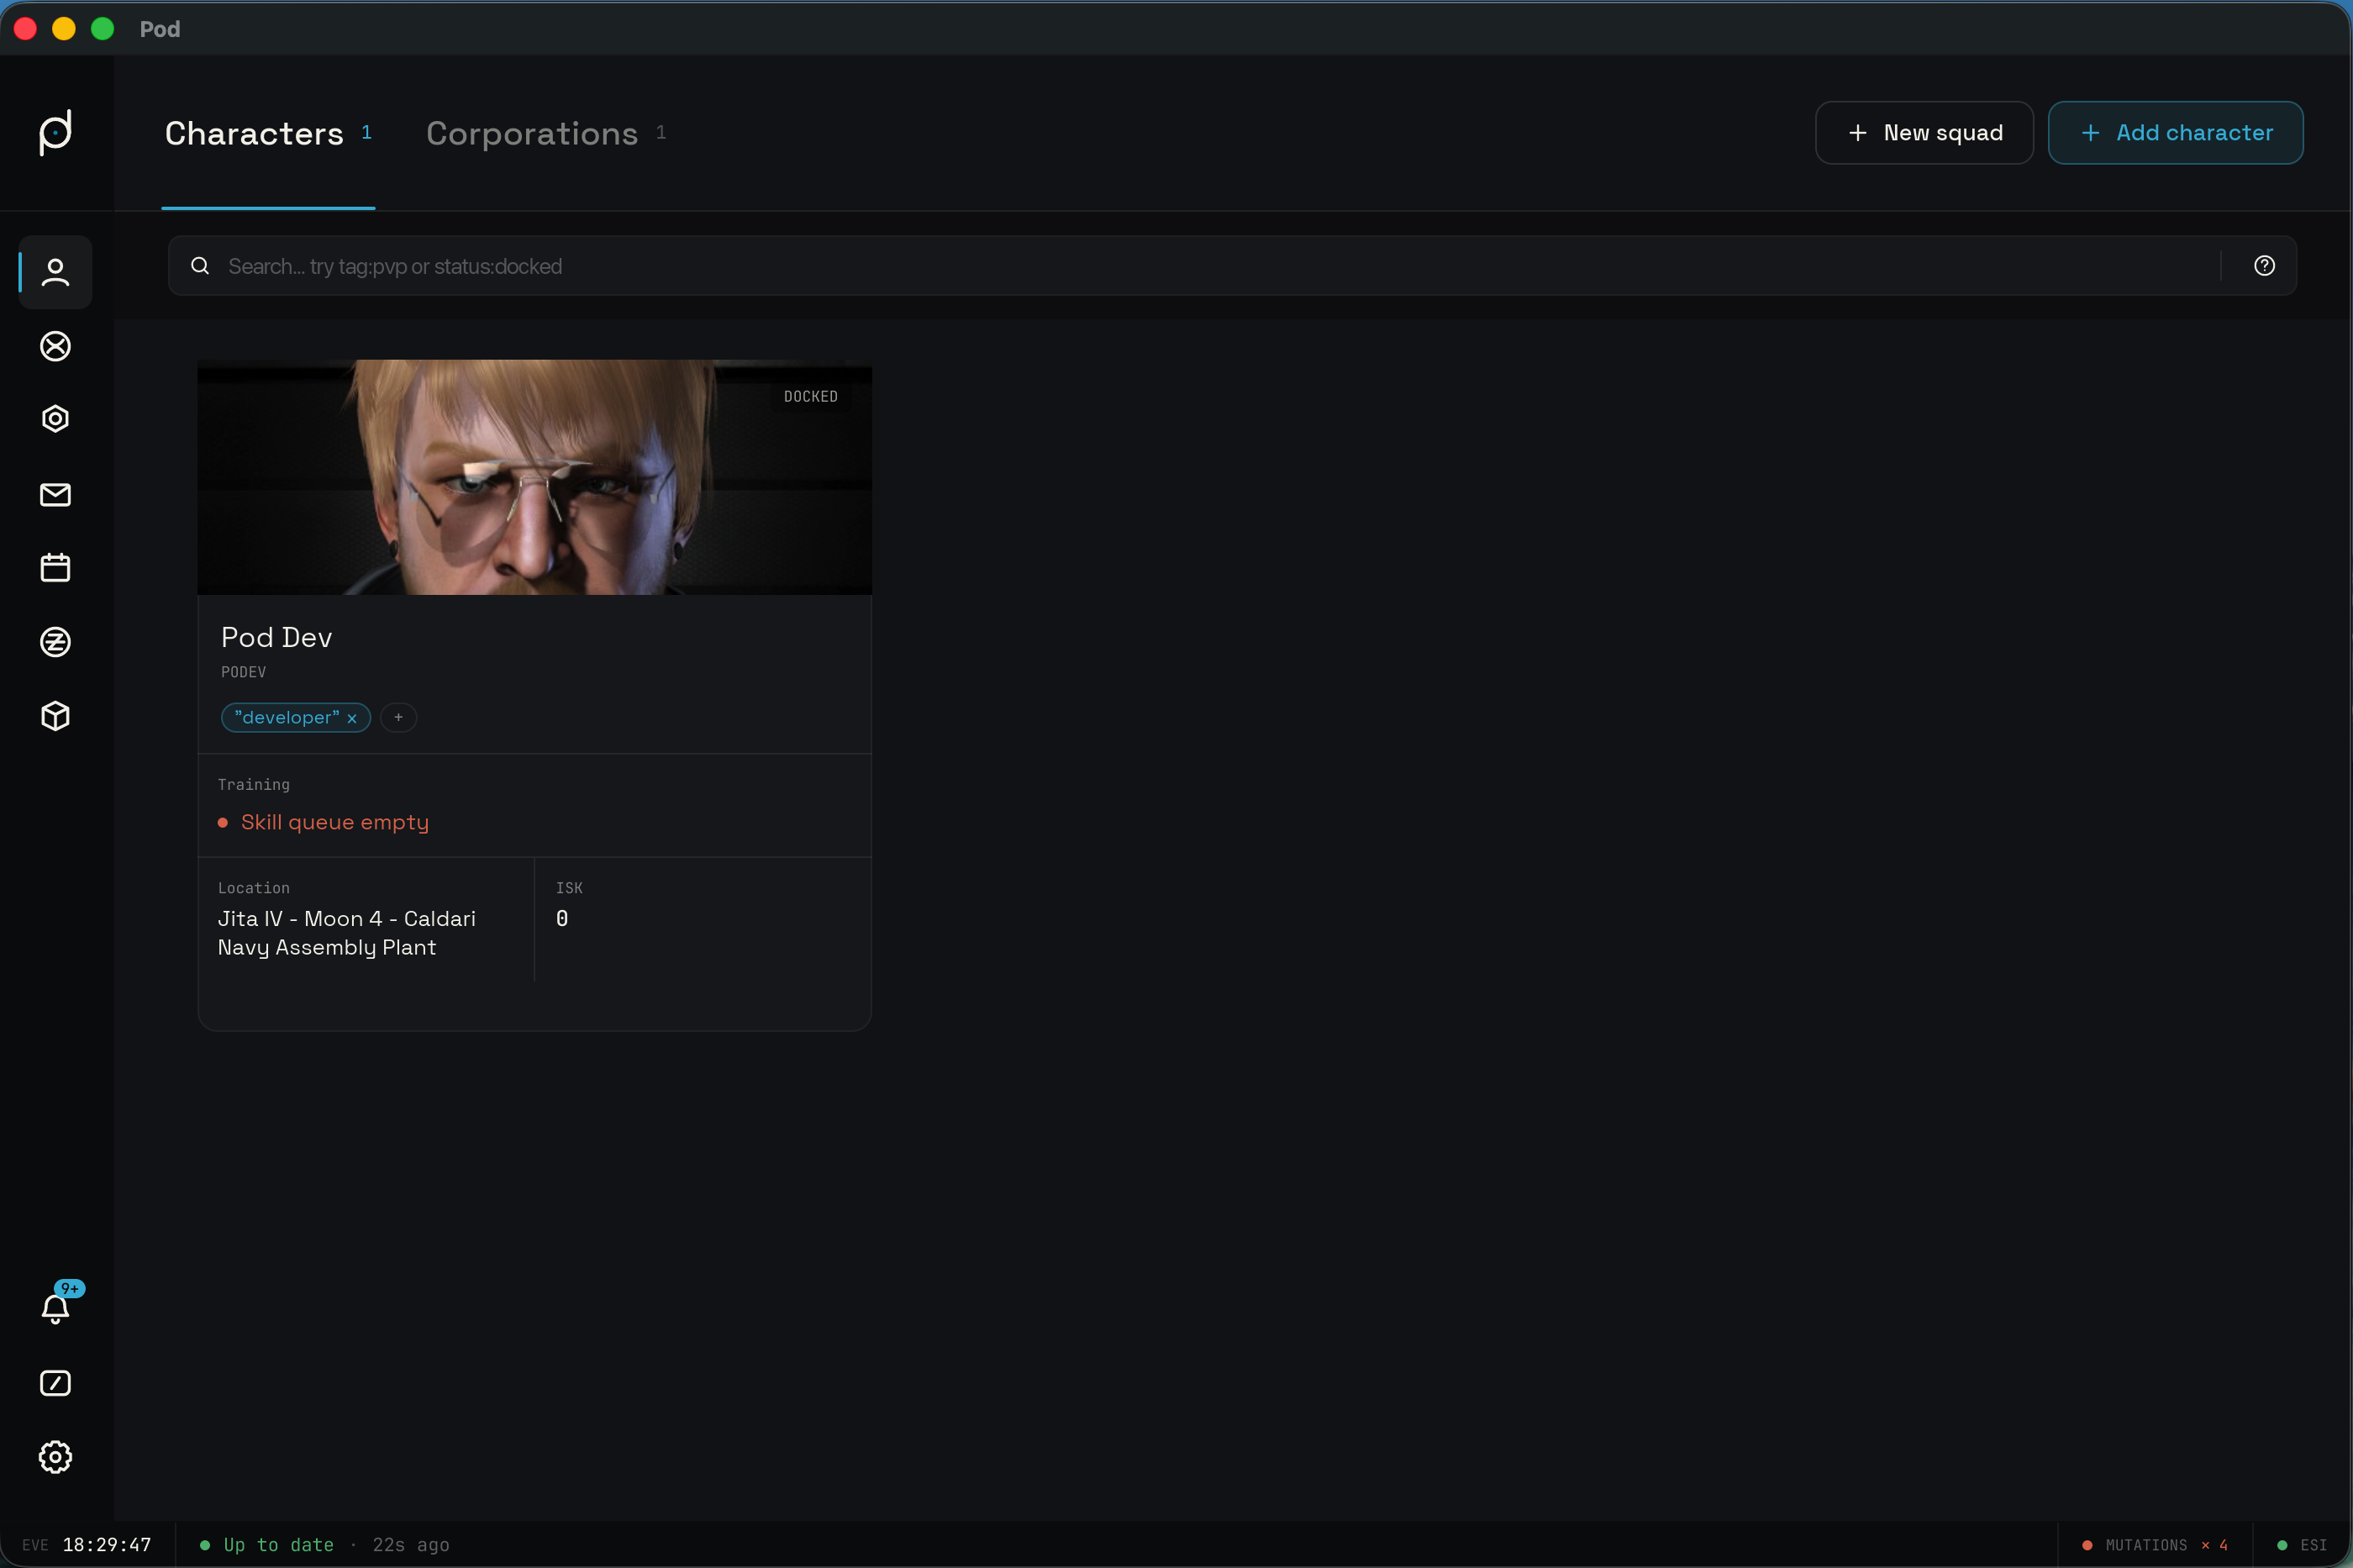
Pod starts syncing the new character right away. It enrolls the character in the background sync engine, runs an immediate first pass, and begins discovering the data the enabled features need. The card's sync status updates as data arrives. A red badge on the card means a sync is failing, usually a sign that a token needs re-authorization.
From here you can add more characters the same way, each with its own login and its own scopes. Every character you add joins the roster and syncs independently.