Onboarding
The very first time you open Pod, it runs a short setup wizard before anything else. The wizard collects a handful of choices, your language, which features run, and where Pod stores its files, then hands you straight into the app. It is a one-time step. Once you finish, later launches skip it and go to the splash covered in Getting Started.
The wizard opens in its own window titled "Pod, First-time setup." A narrow rail runs down the left with the five phases and a progress counter, the working area fills the middle, and a footer with the navigation buttons sits across the bottom. The phases run in a fixed order: Welcome, Language, Features, Storage, and Finish. The rail marks each phase you finish with a check, and you can click back to any phase you have already reached.
The footer carries the controls. "Back" returns to the previous screen, the primary button on the right advances to the next one, and "Skip setup" jumps to the Finish screen so you can launch with the defaults. Every choice writes only to this machine's local preferences, and you can change any of it later in Settings.
Welcome
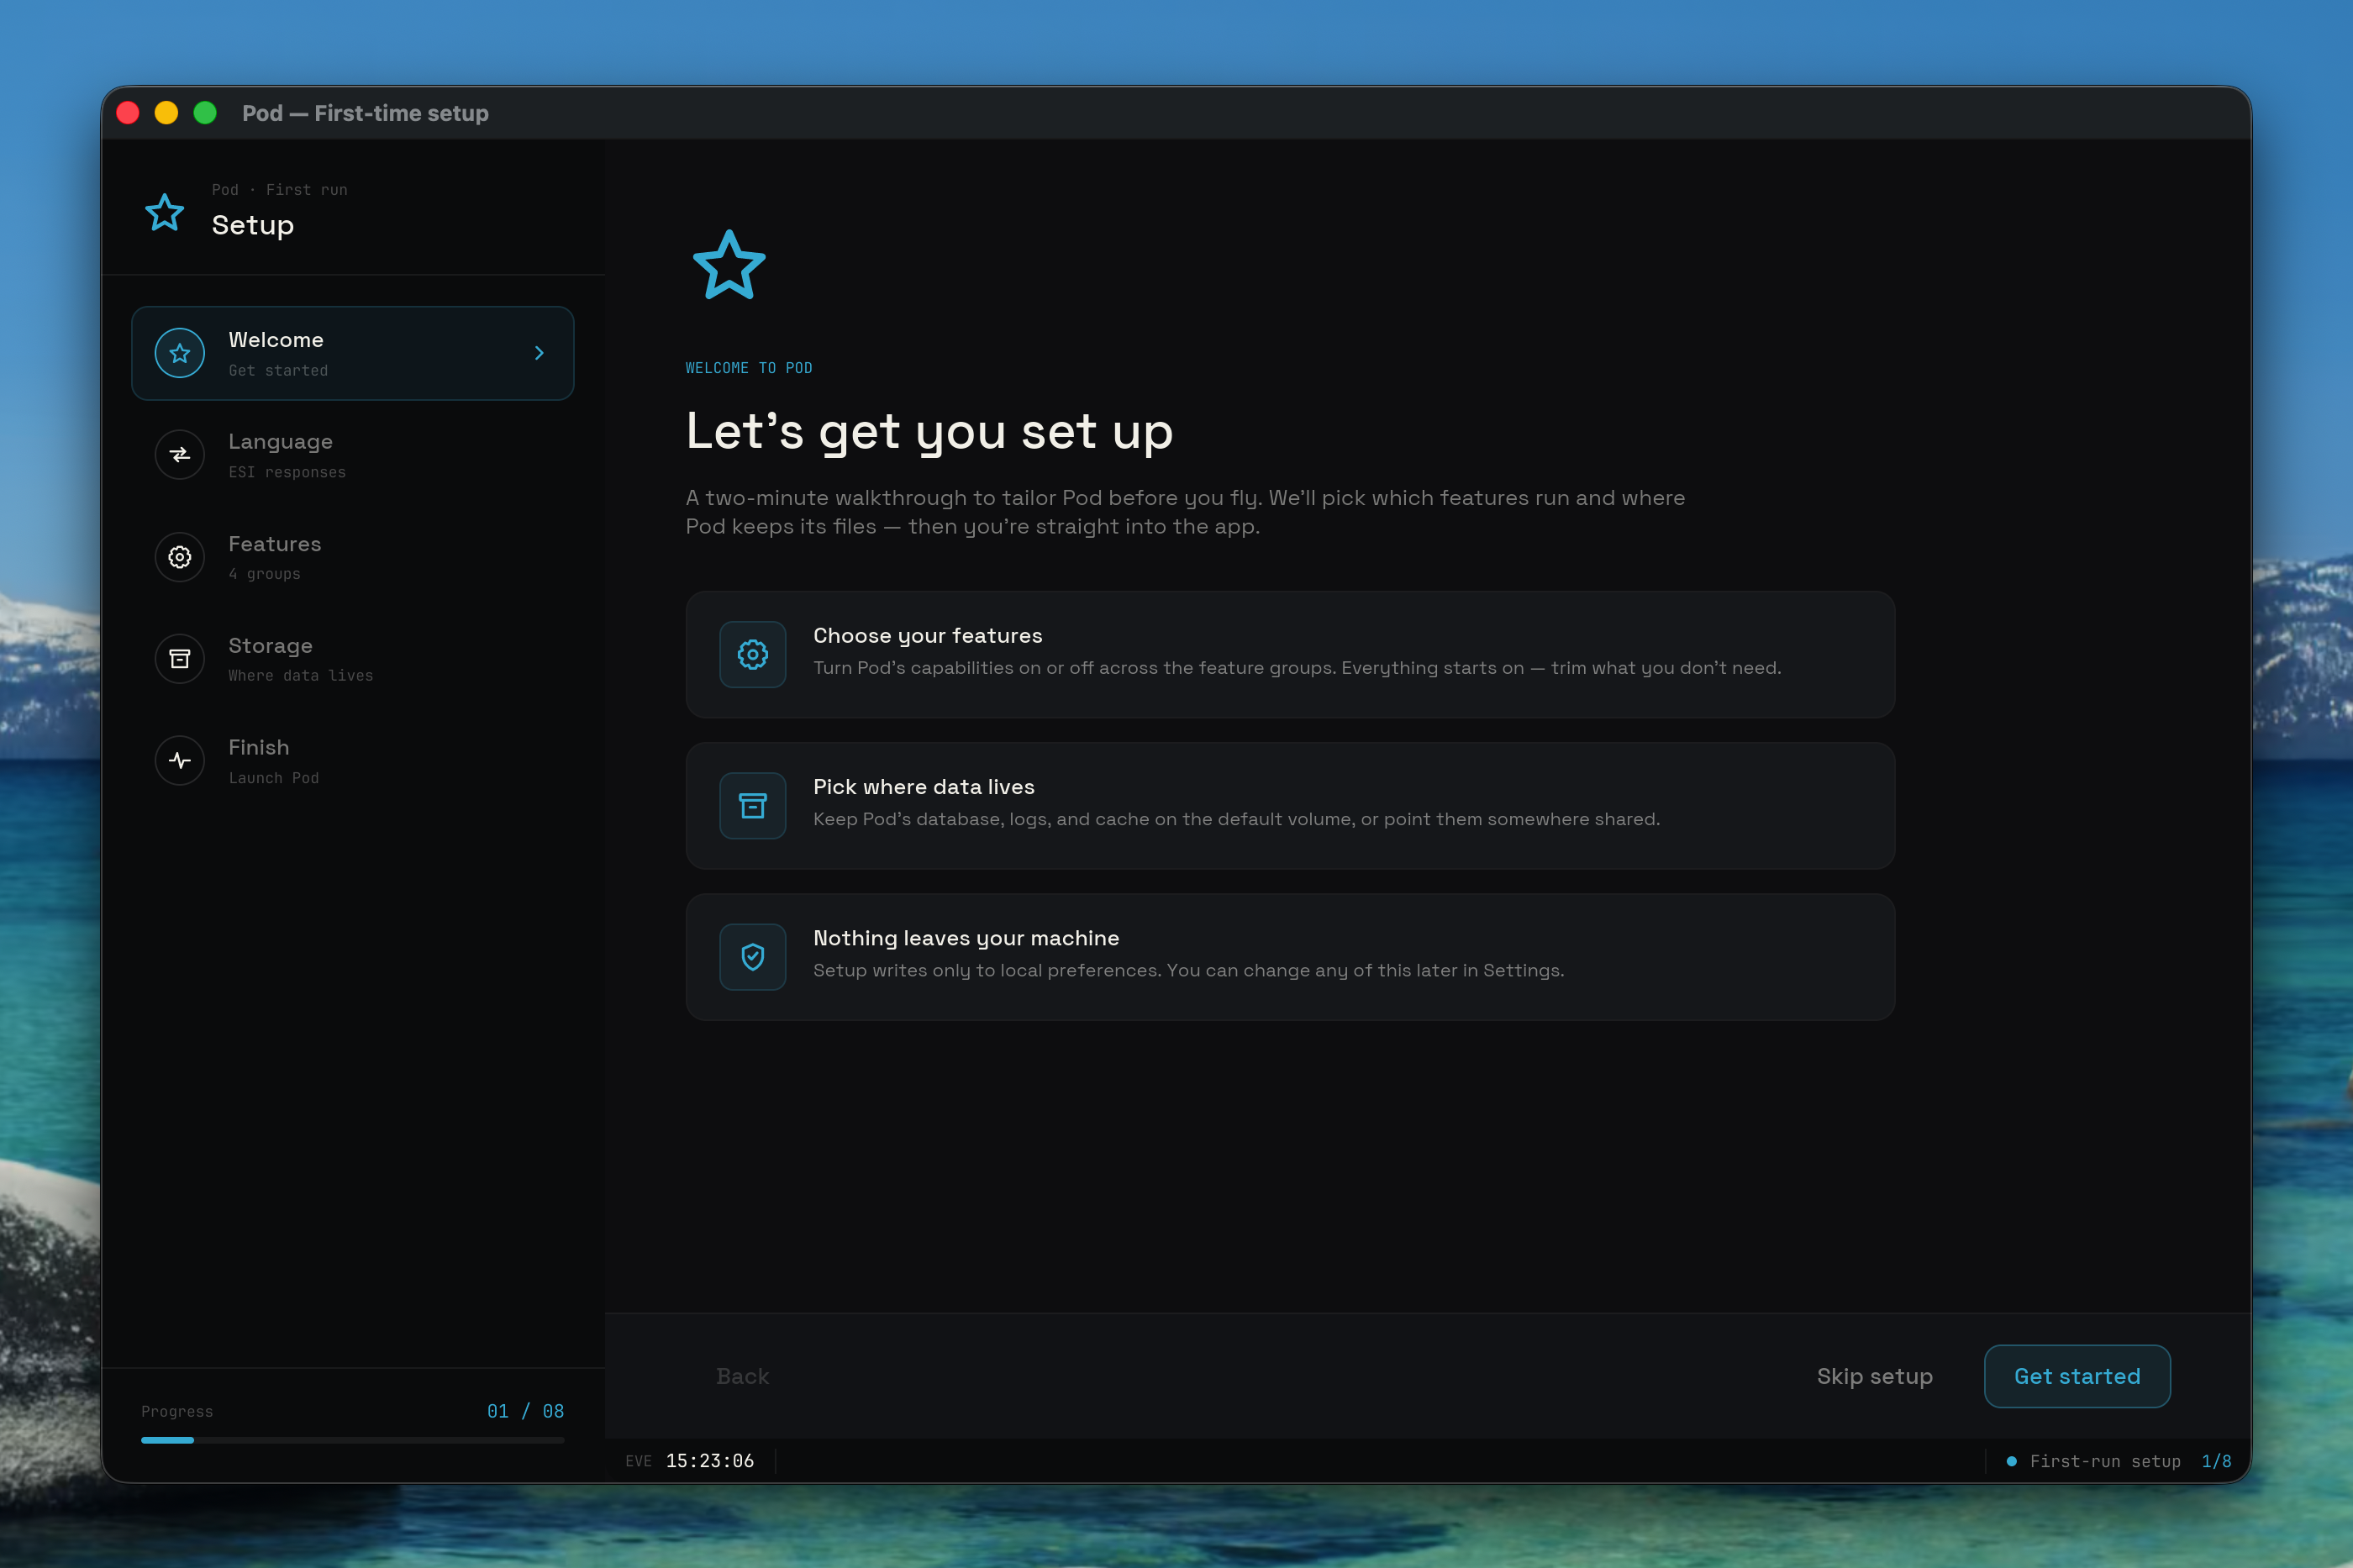
The Welcome screen introduces the wizard. It describes the walkthrough as a quick pass to tailor Pod before you fly, then lists three things setup covers: choosing your features, picking where data lives, and keeping everything on your own machine. Nothing here needs input. Read it and press "Get started" to move on.
Language
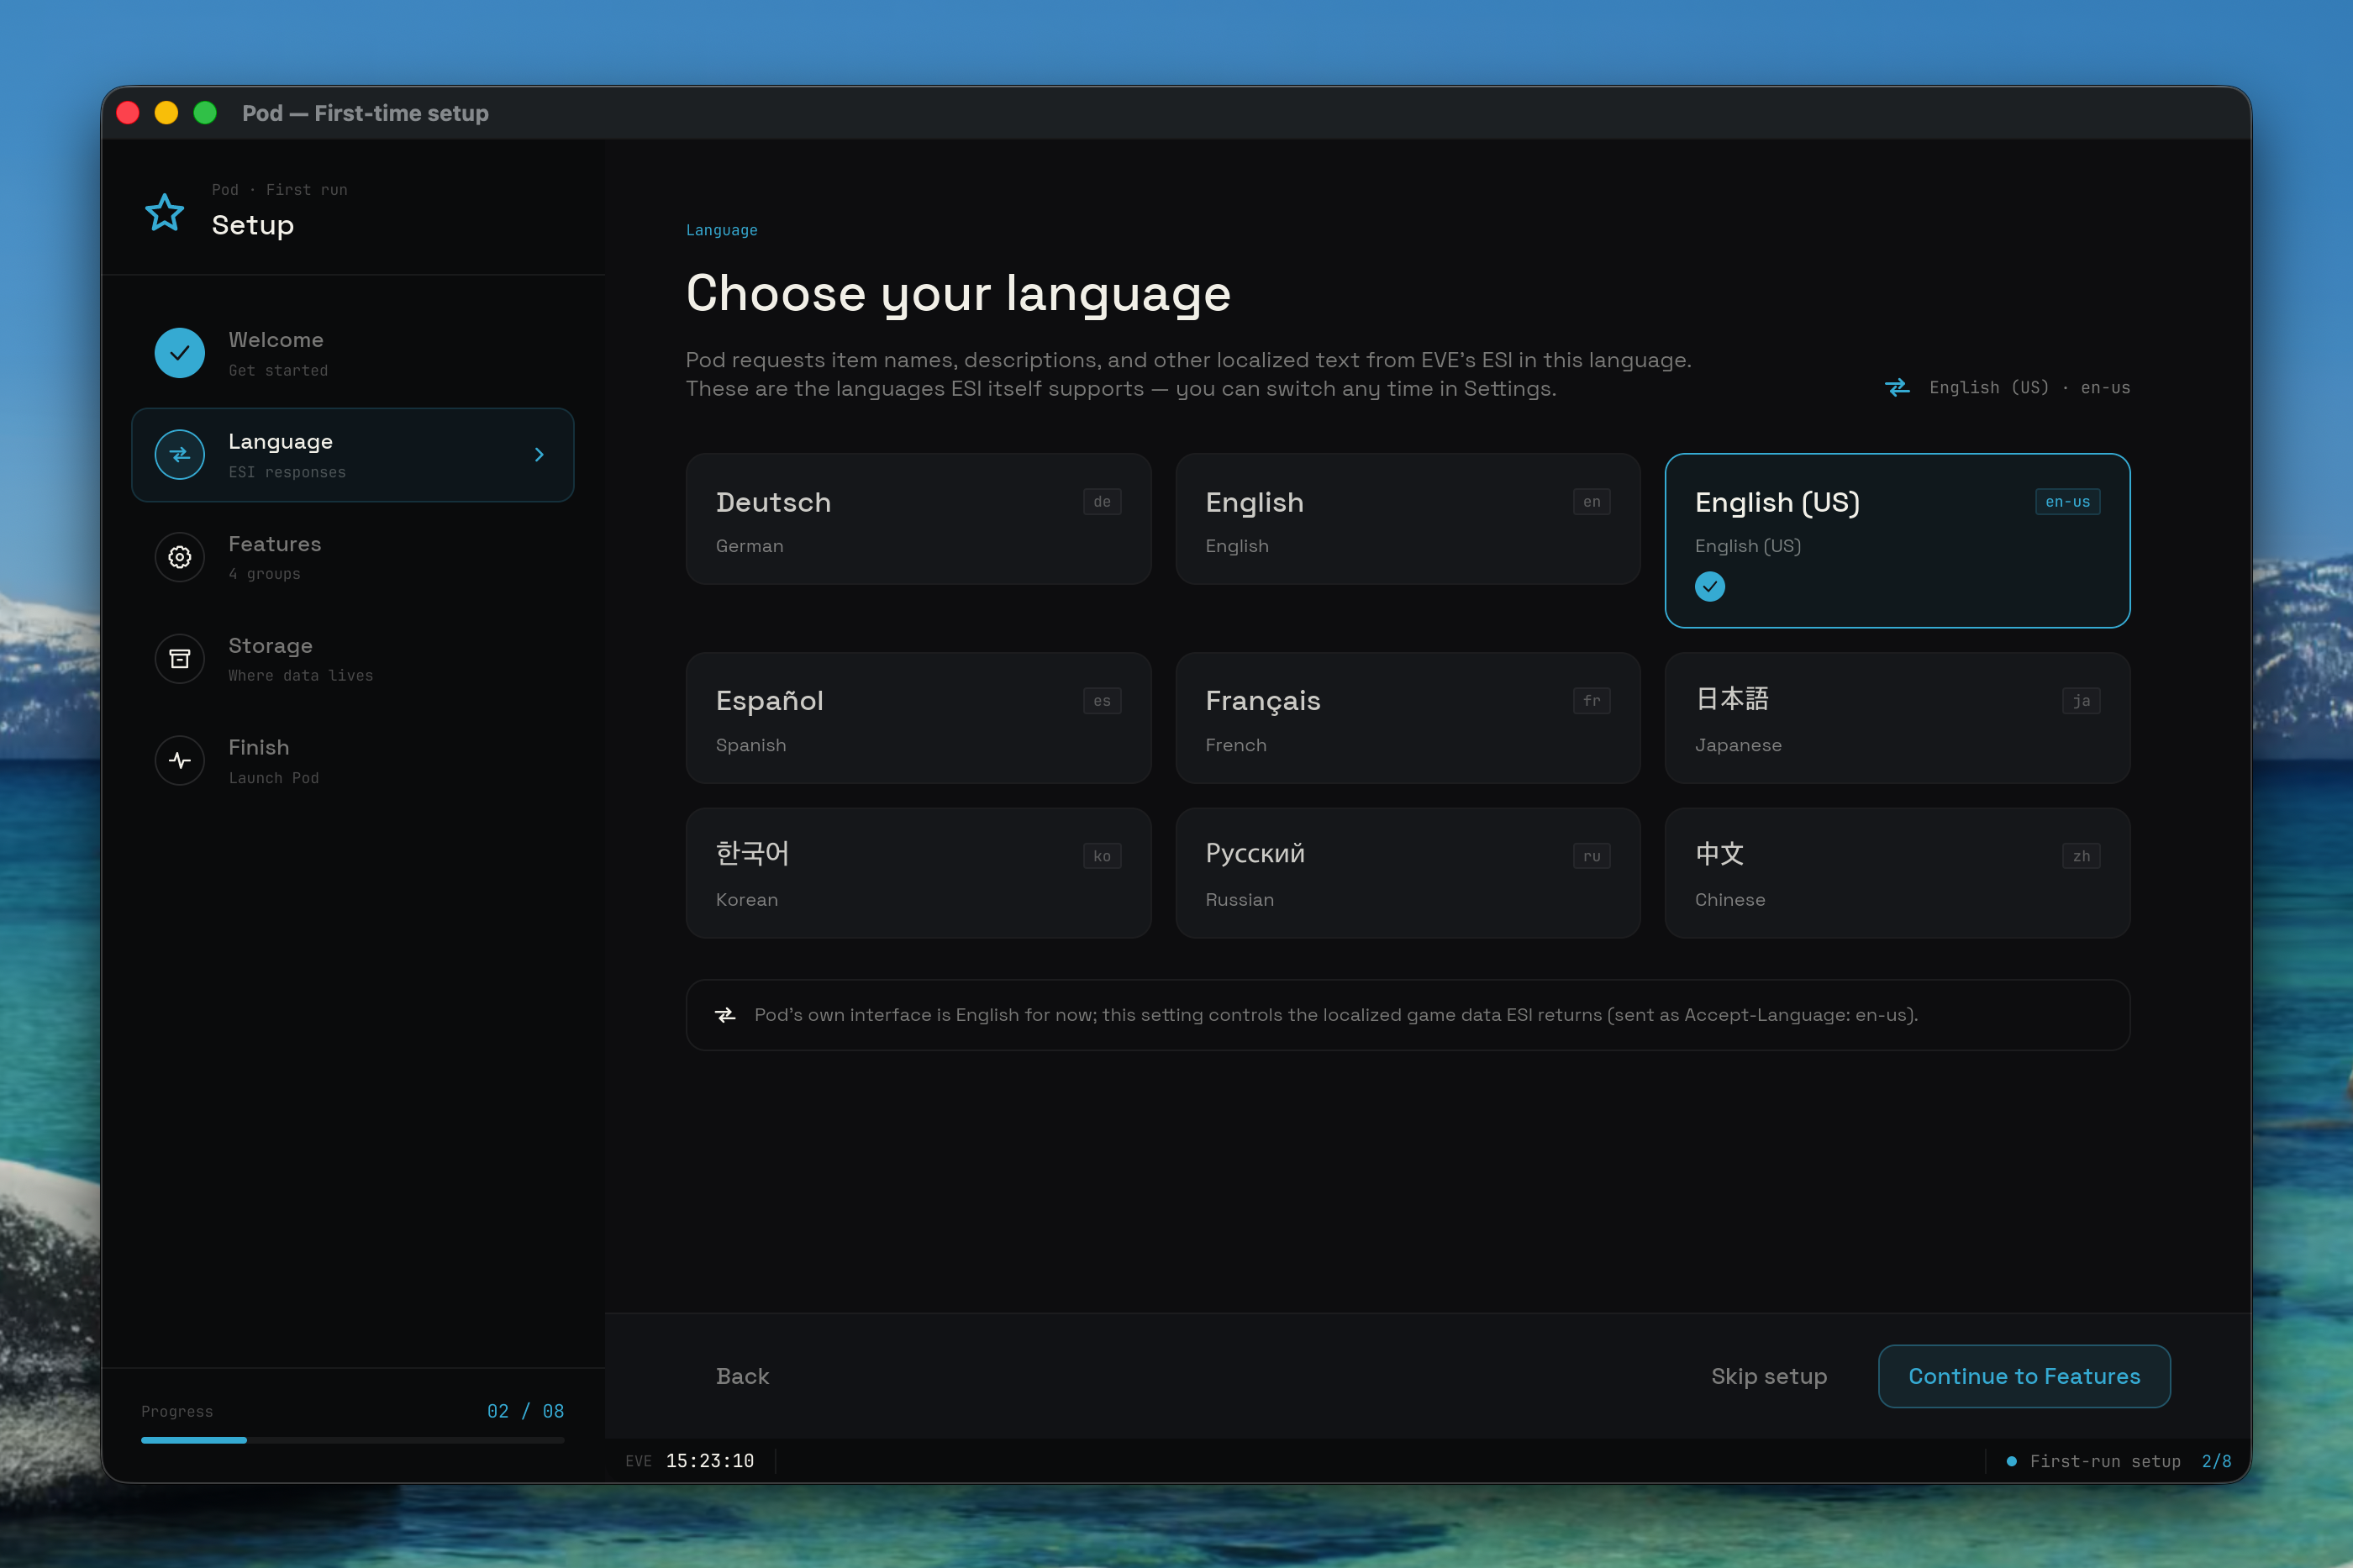
The Language screen picks the language Pod uses when it asks EVE's ESI for localized game data. Pod sends this as the request language, so item names, descriptions, and other localized text come back in the language you choose. Pod's own interface is English for now; this setting only controls the game data ESI returns, and you can switch it any time in Settings.
The screen shows a grid of language cards, each with the language's native name and its ESI code. Click a card to select it, and a check marks the active choice. A readout near the top echoes the current selection. Press "Continue to Features" when you are happy with the language.
Features
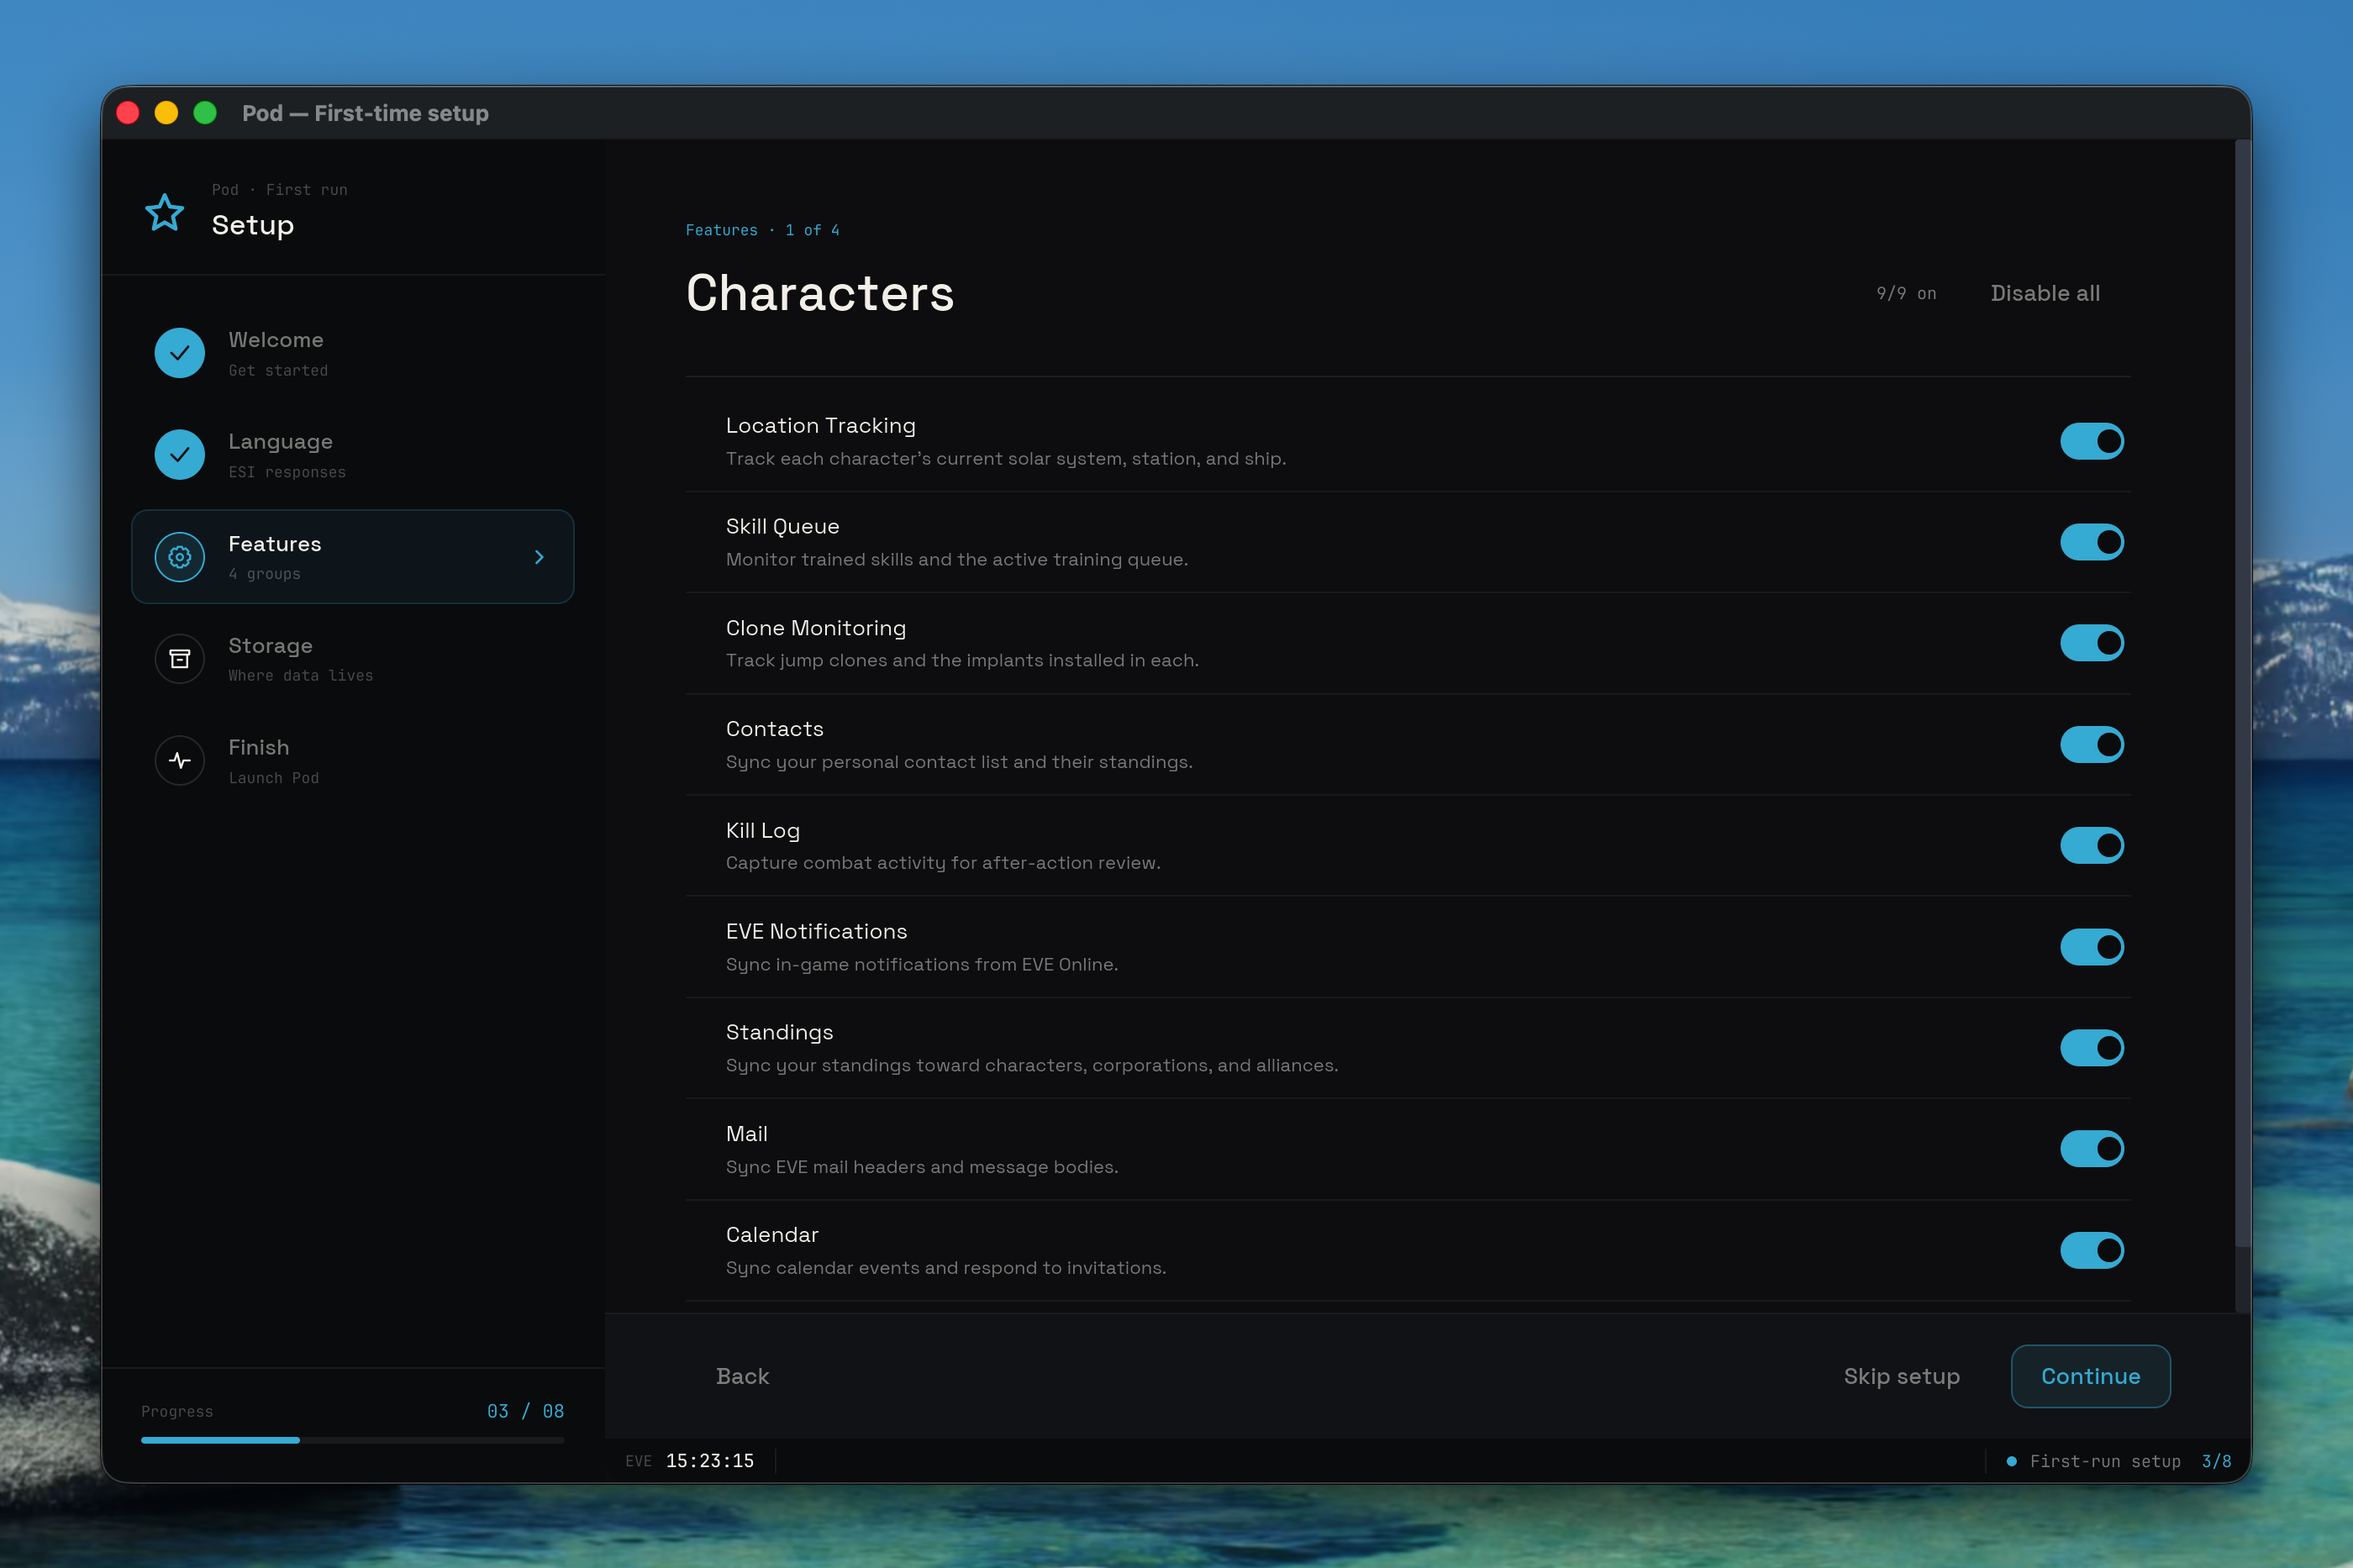
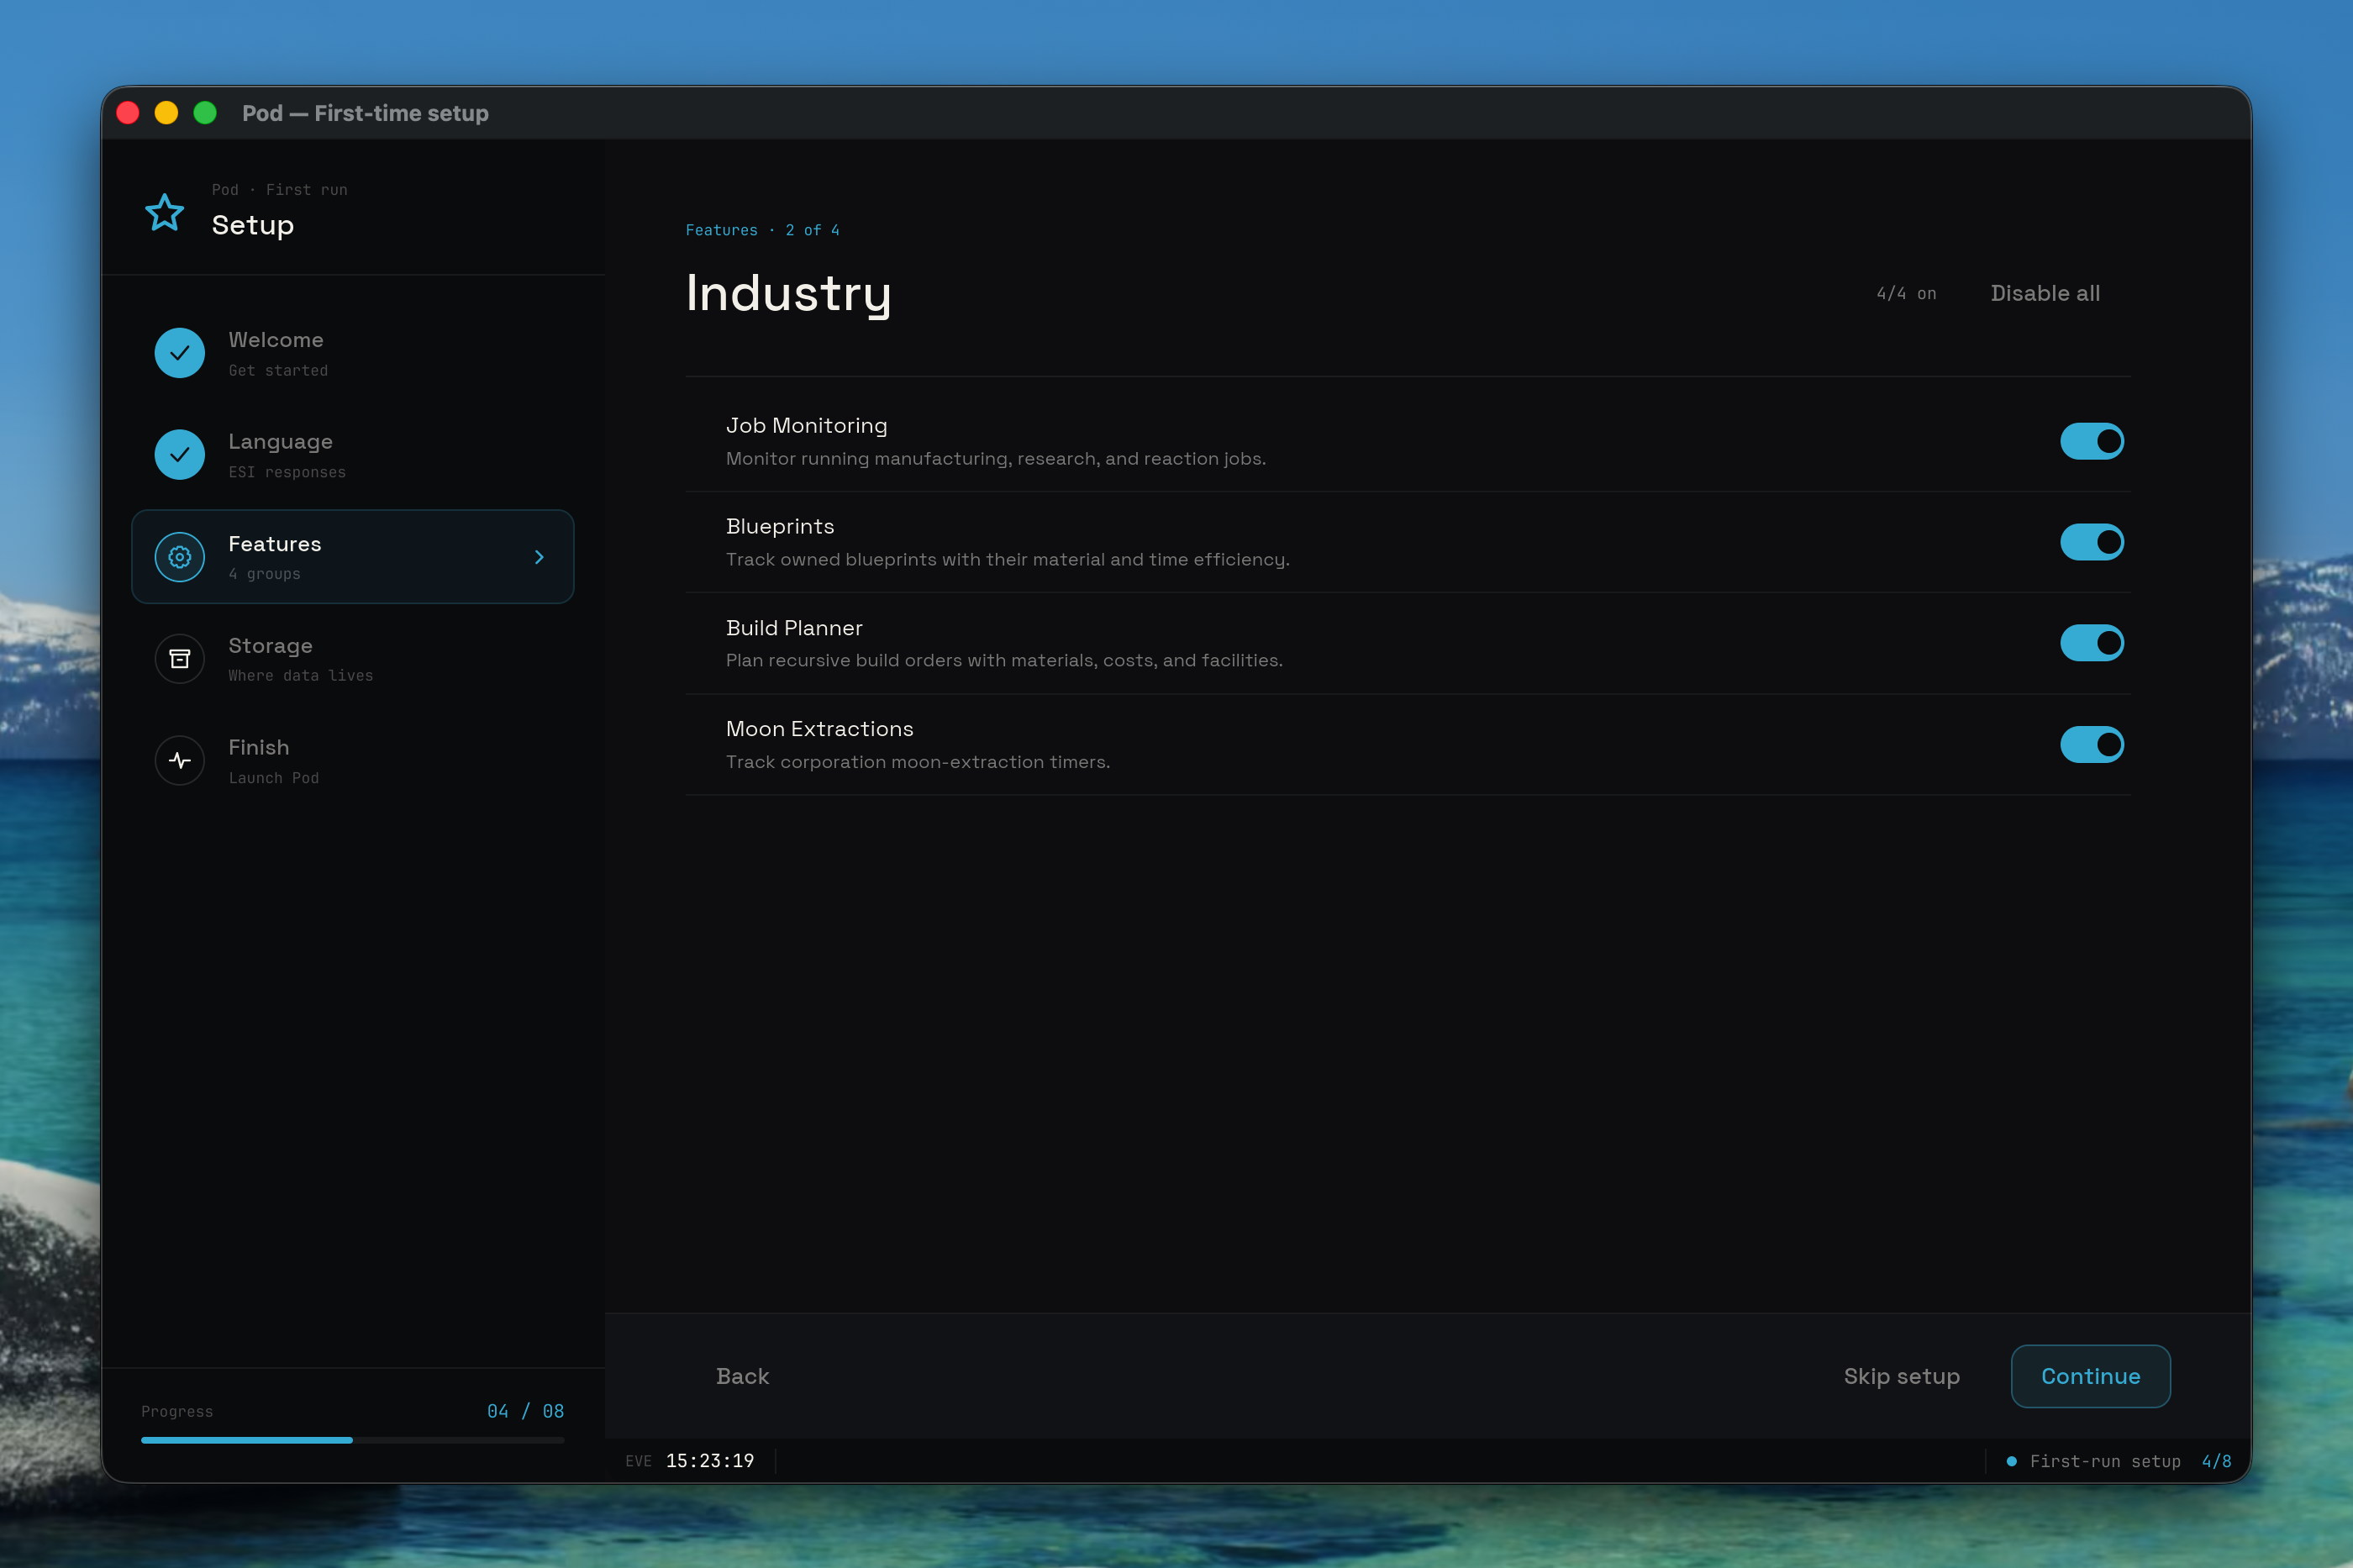
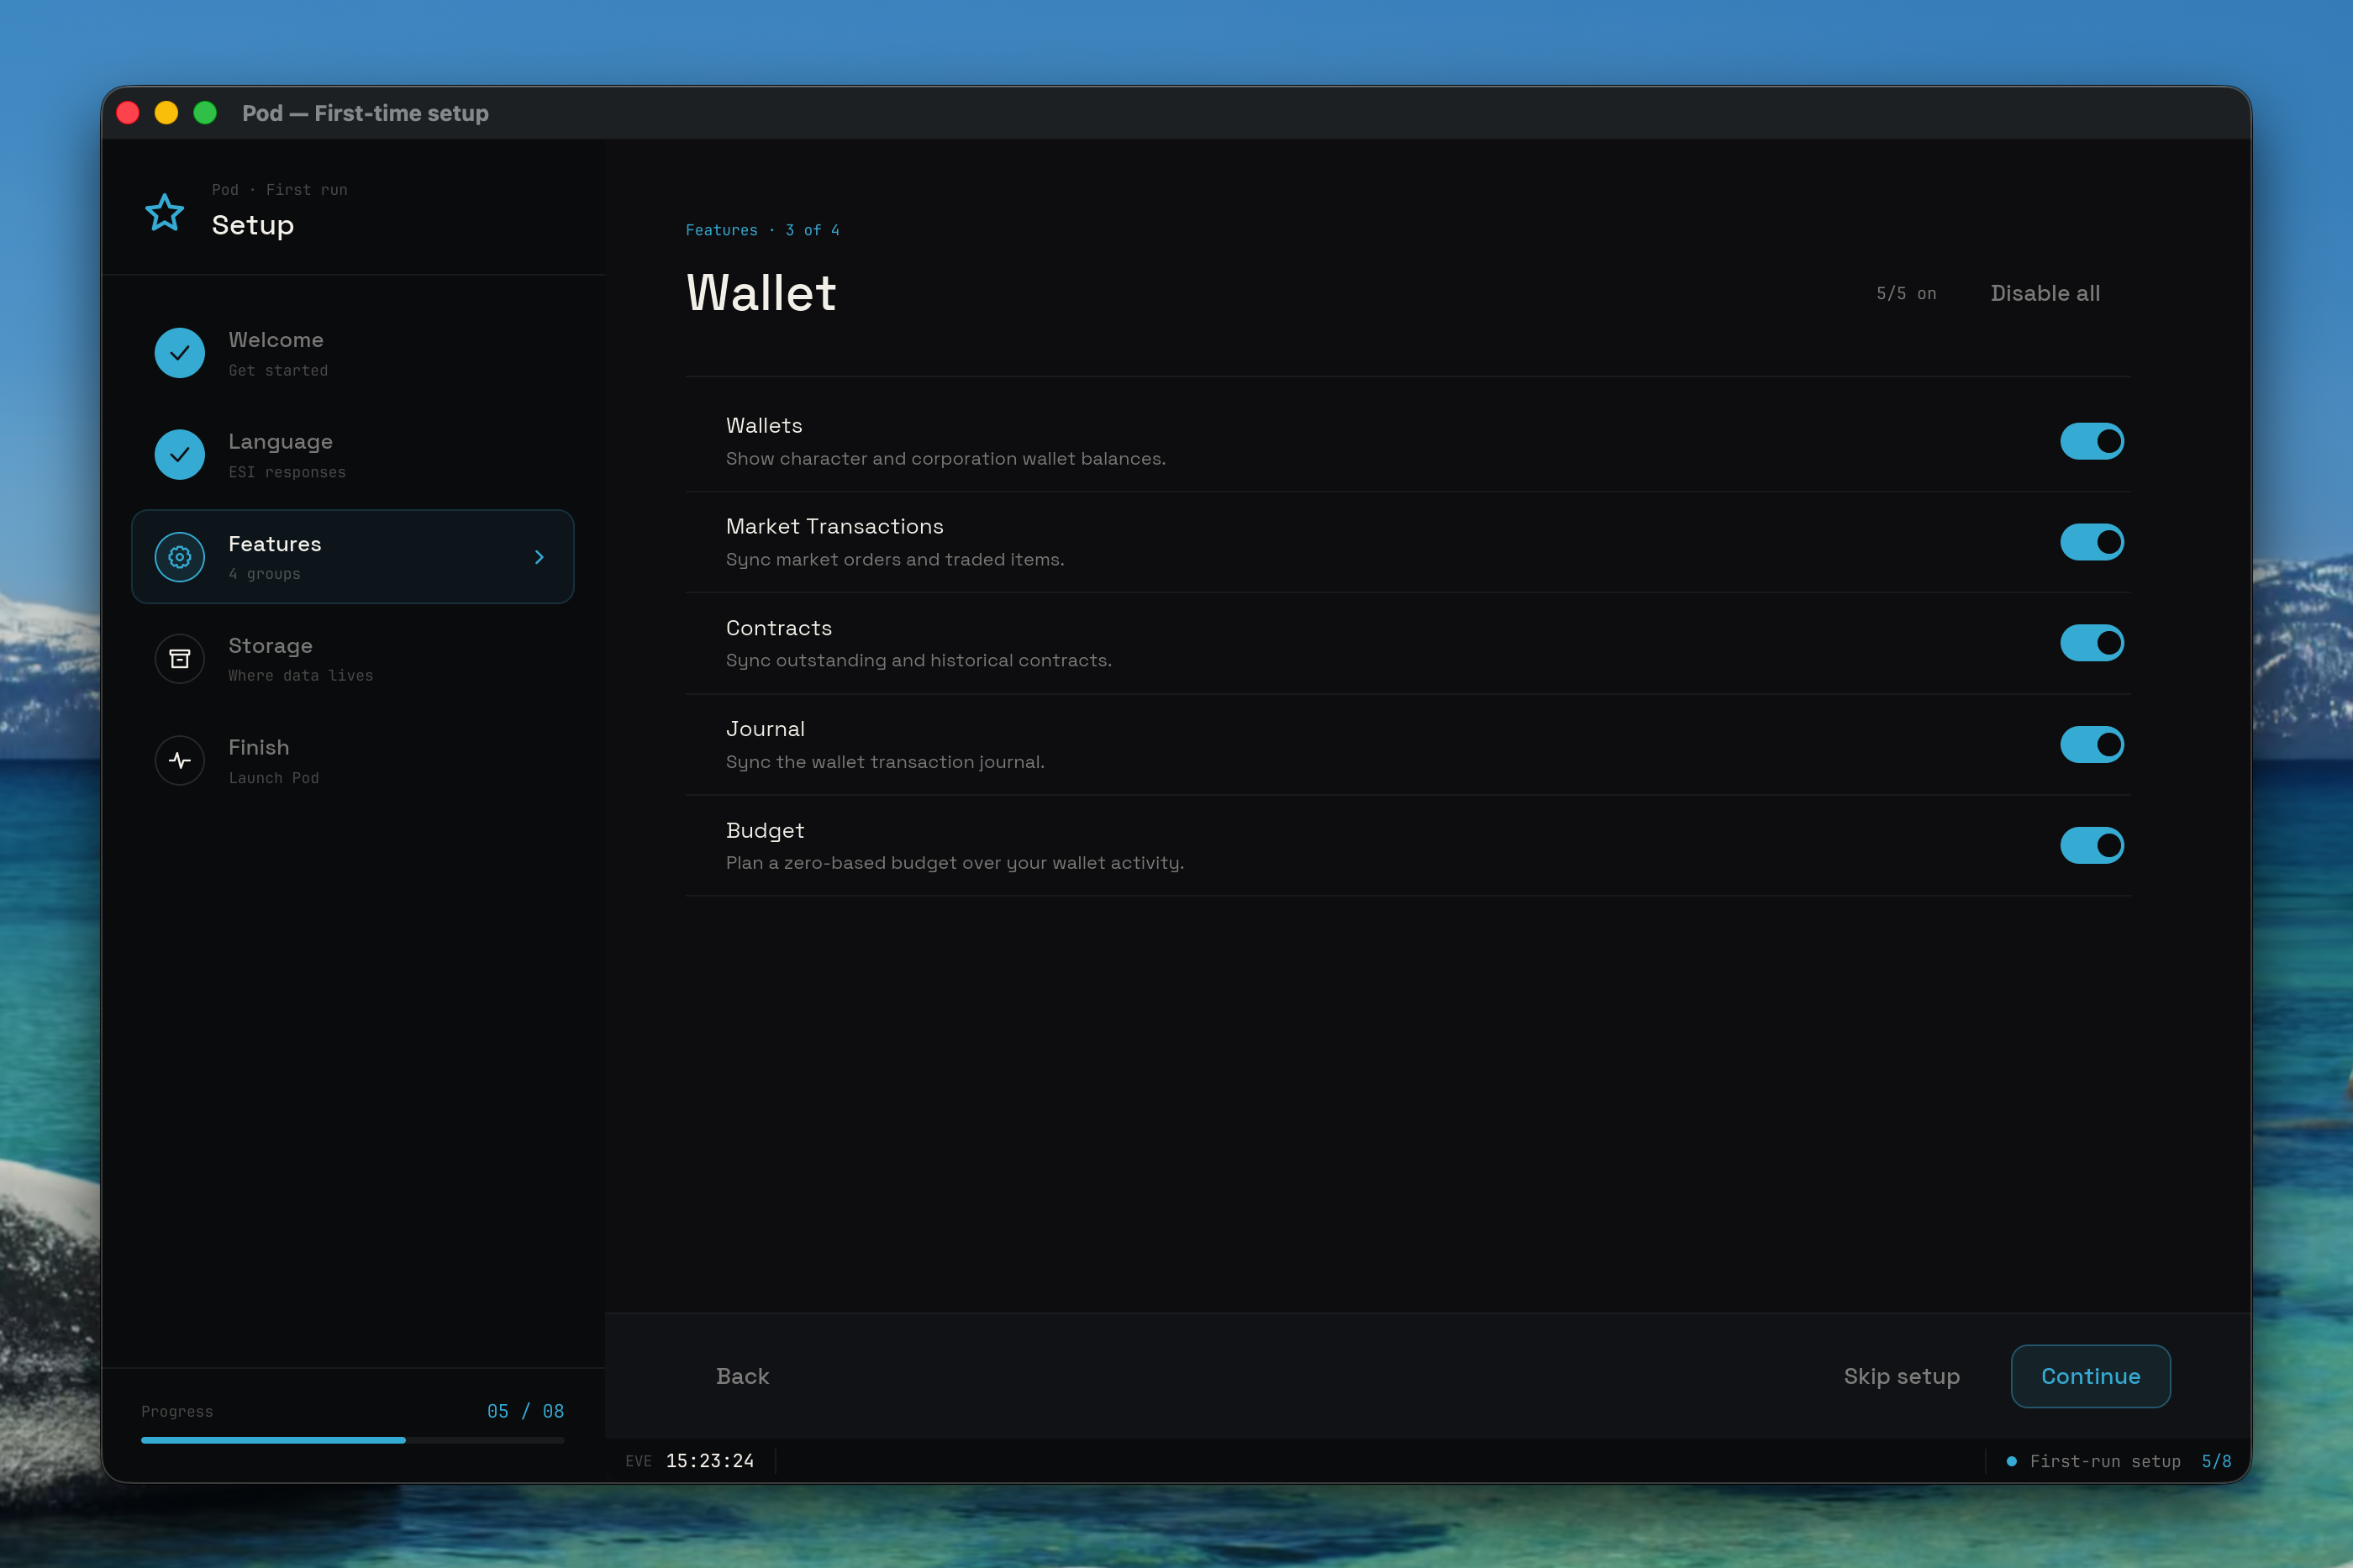
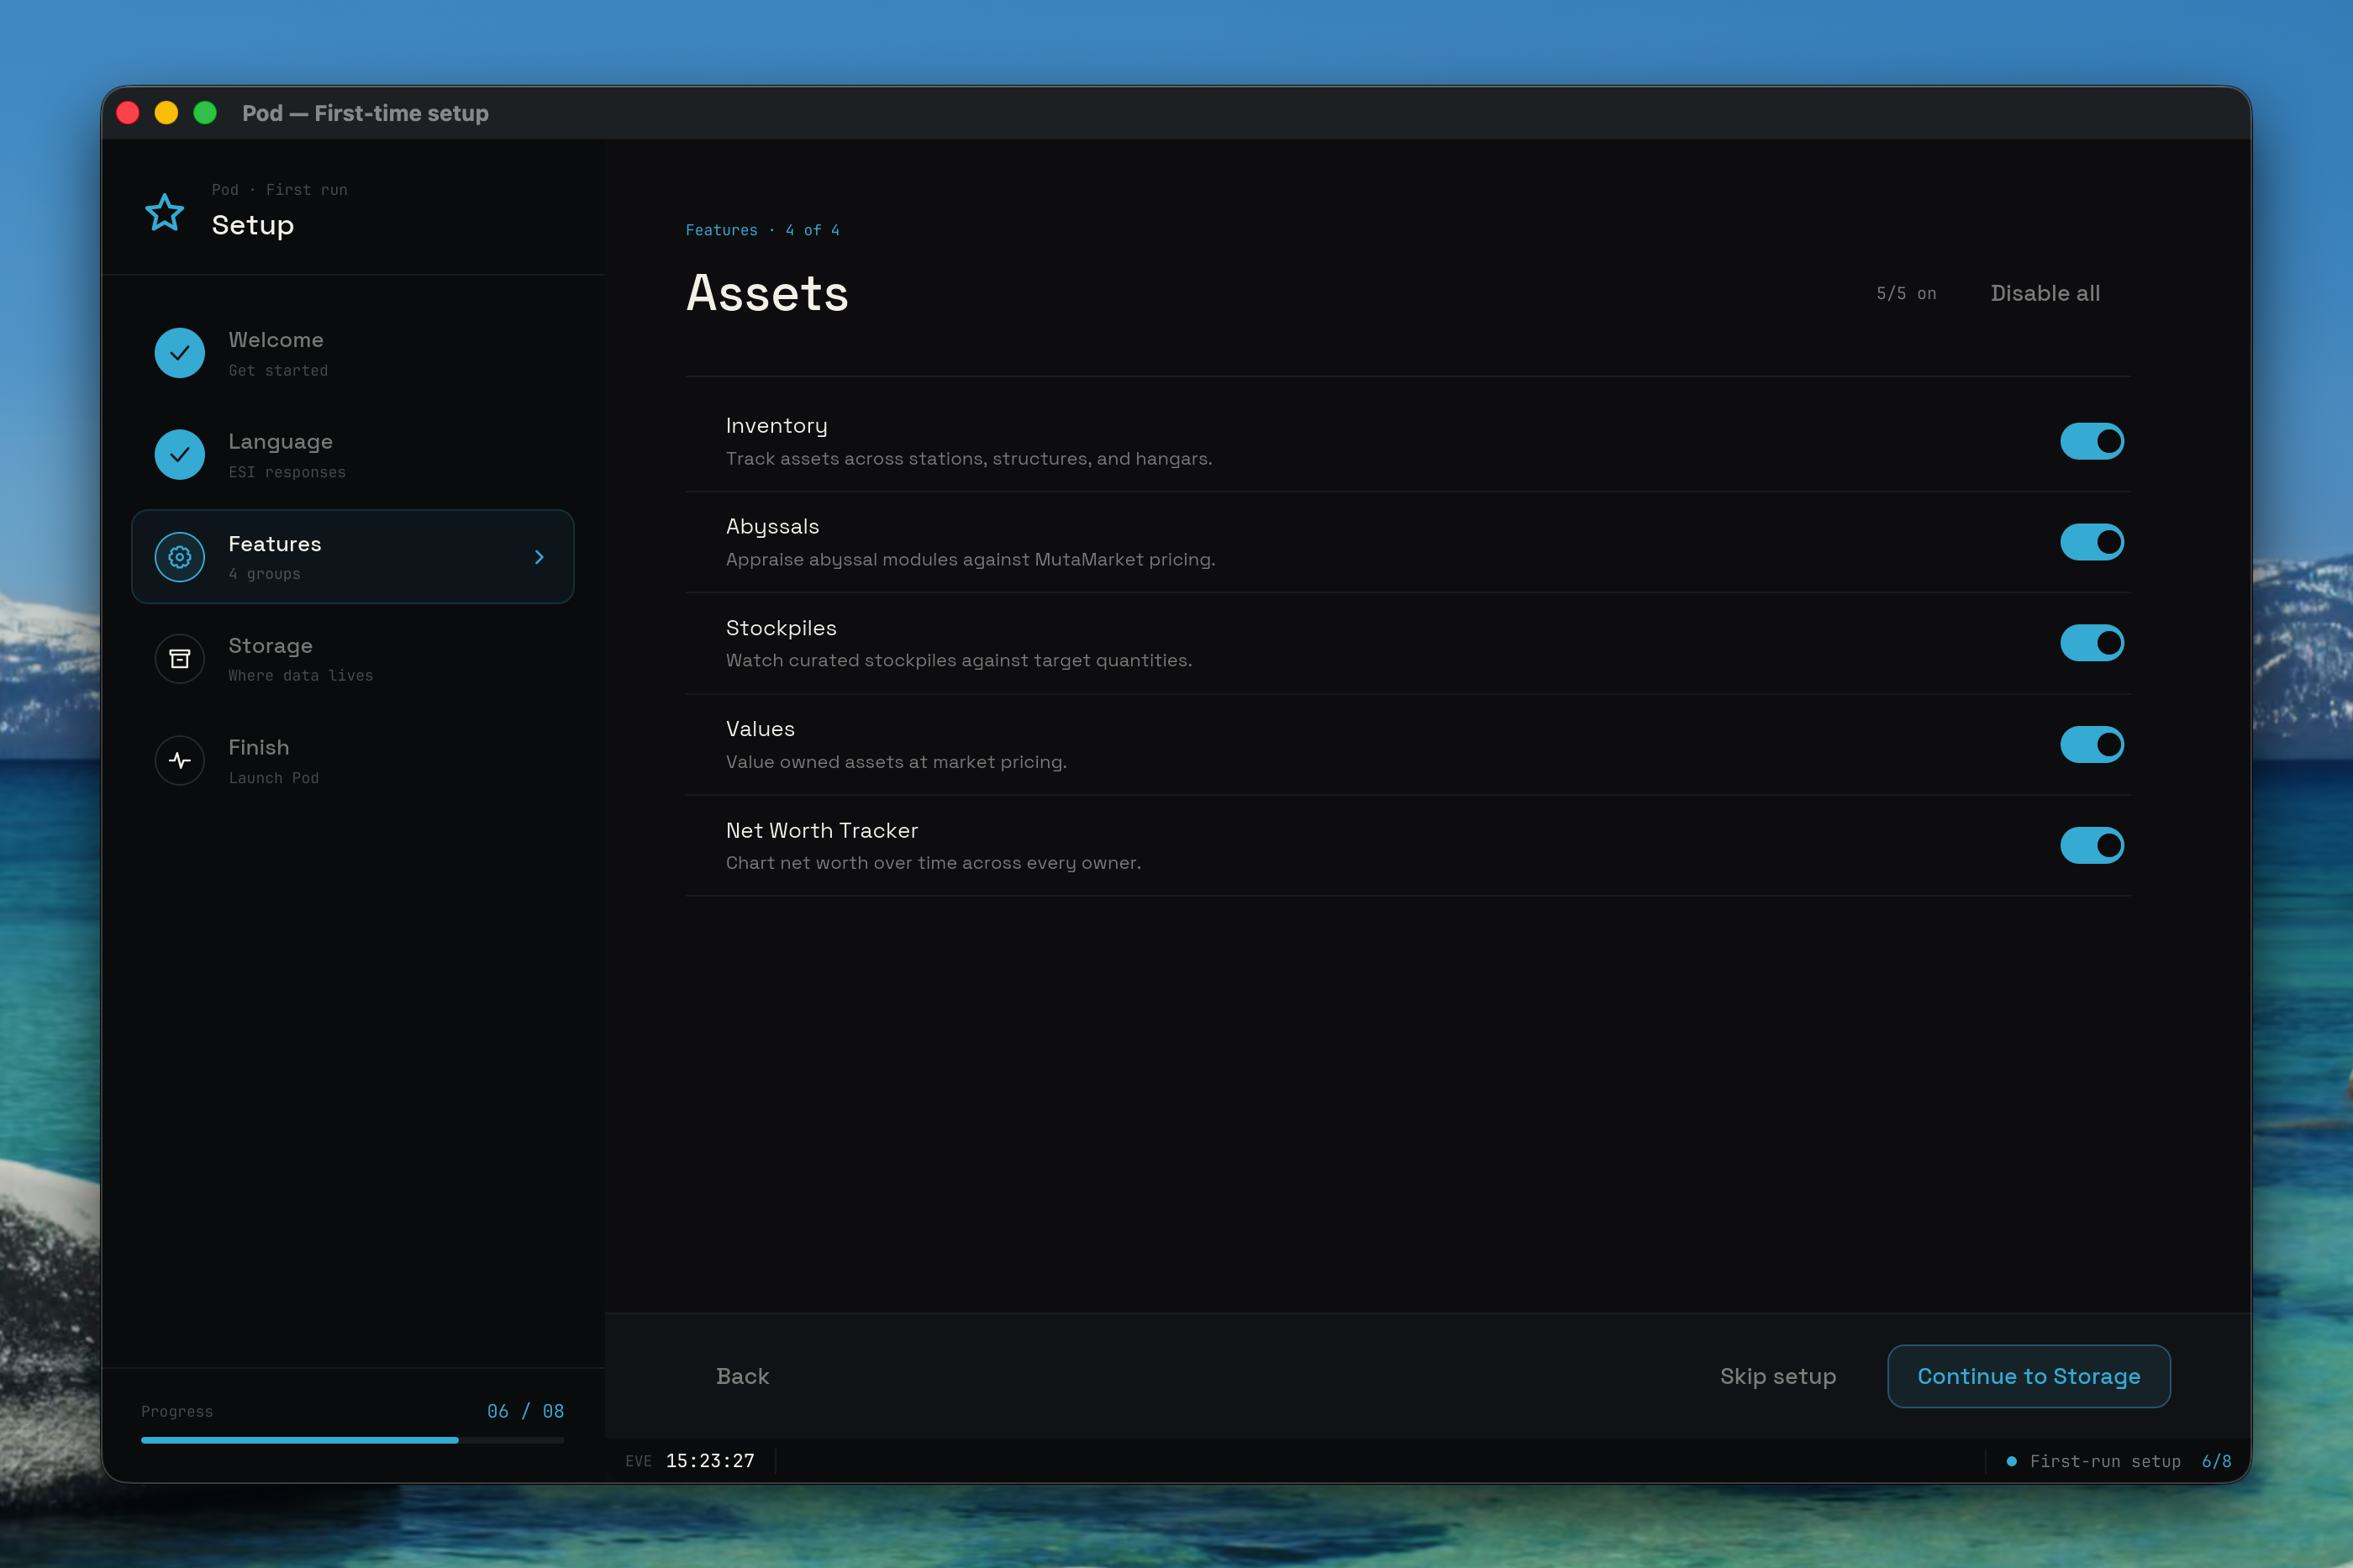
The Features phase is one screen per feature group, in this order: Characters, Industry, Wallet, and Assets. Each screen shows that group's individual features as toggle rows, with a count of how many are on and an "Enable all" or "Disable all" button to flip the whole group at once. Everything starts enabled, so this phase is about trimming what you do not need rather than opting in. The eyebrow above each screen tracks your place, such as "Features · 1 of 4."
The Characters group covers the per-character features: location tracking, skill queue, clone monitoring, contacts, kill log, notifications, standings, mail, and calendar.
The Industry group covers job monitoring, blueprints, the planner, and extractions.
The Wallet group covers wallets, transactions, contracts, the journal, and the budget.
The Assets group covers inventory, abyssals, stockpiles, values, and the tracker. On the last Features screen the footer button reads "Continue to Storage."
Storage
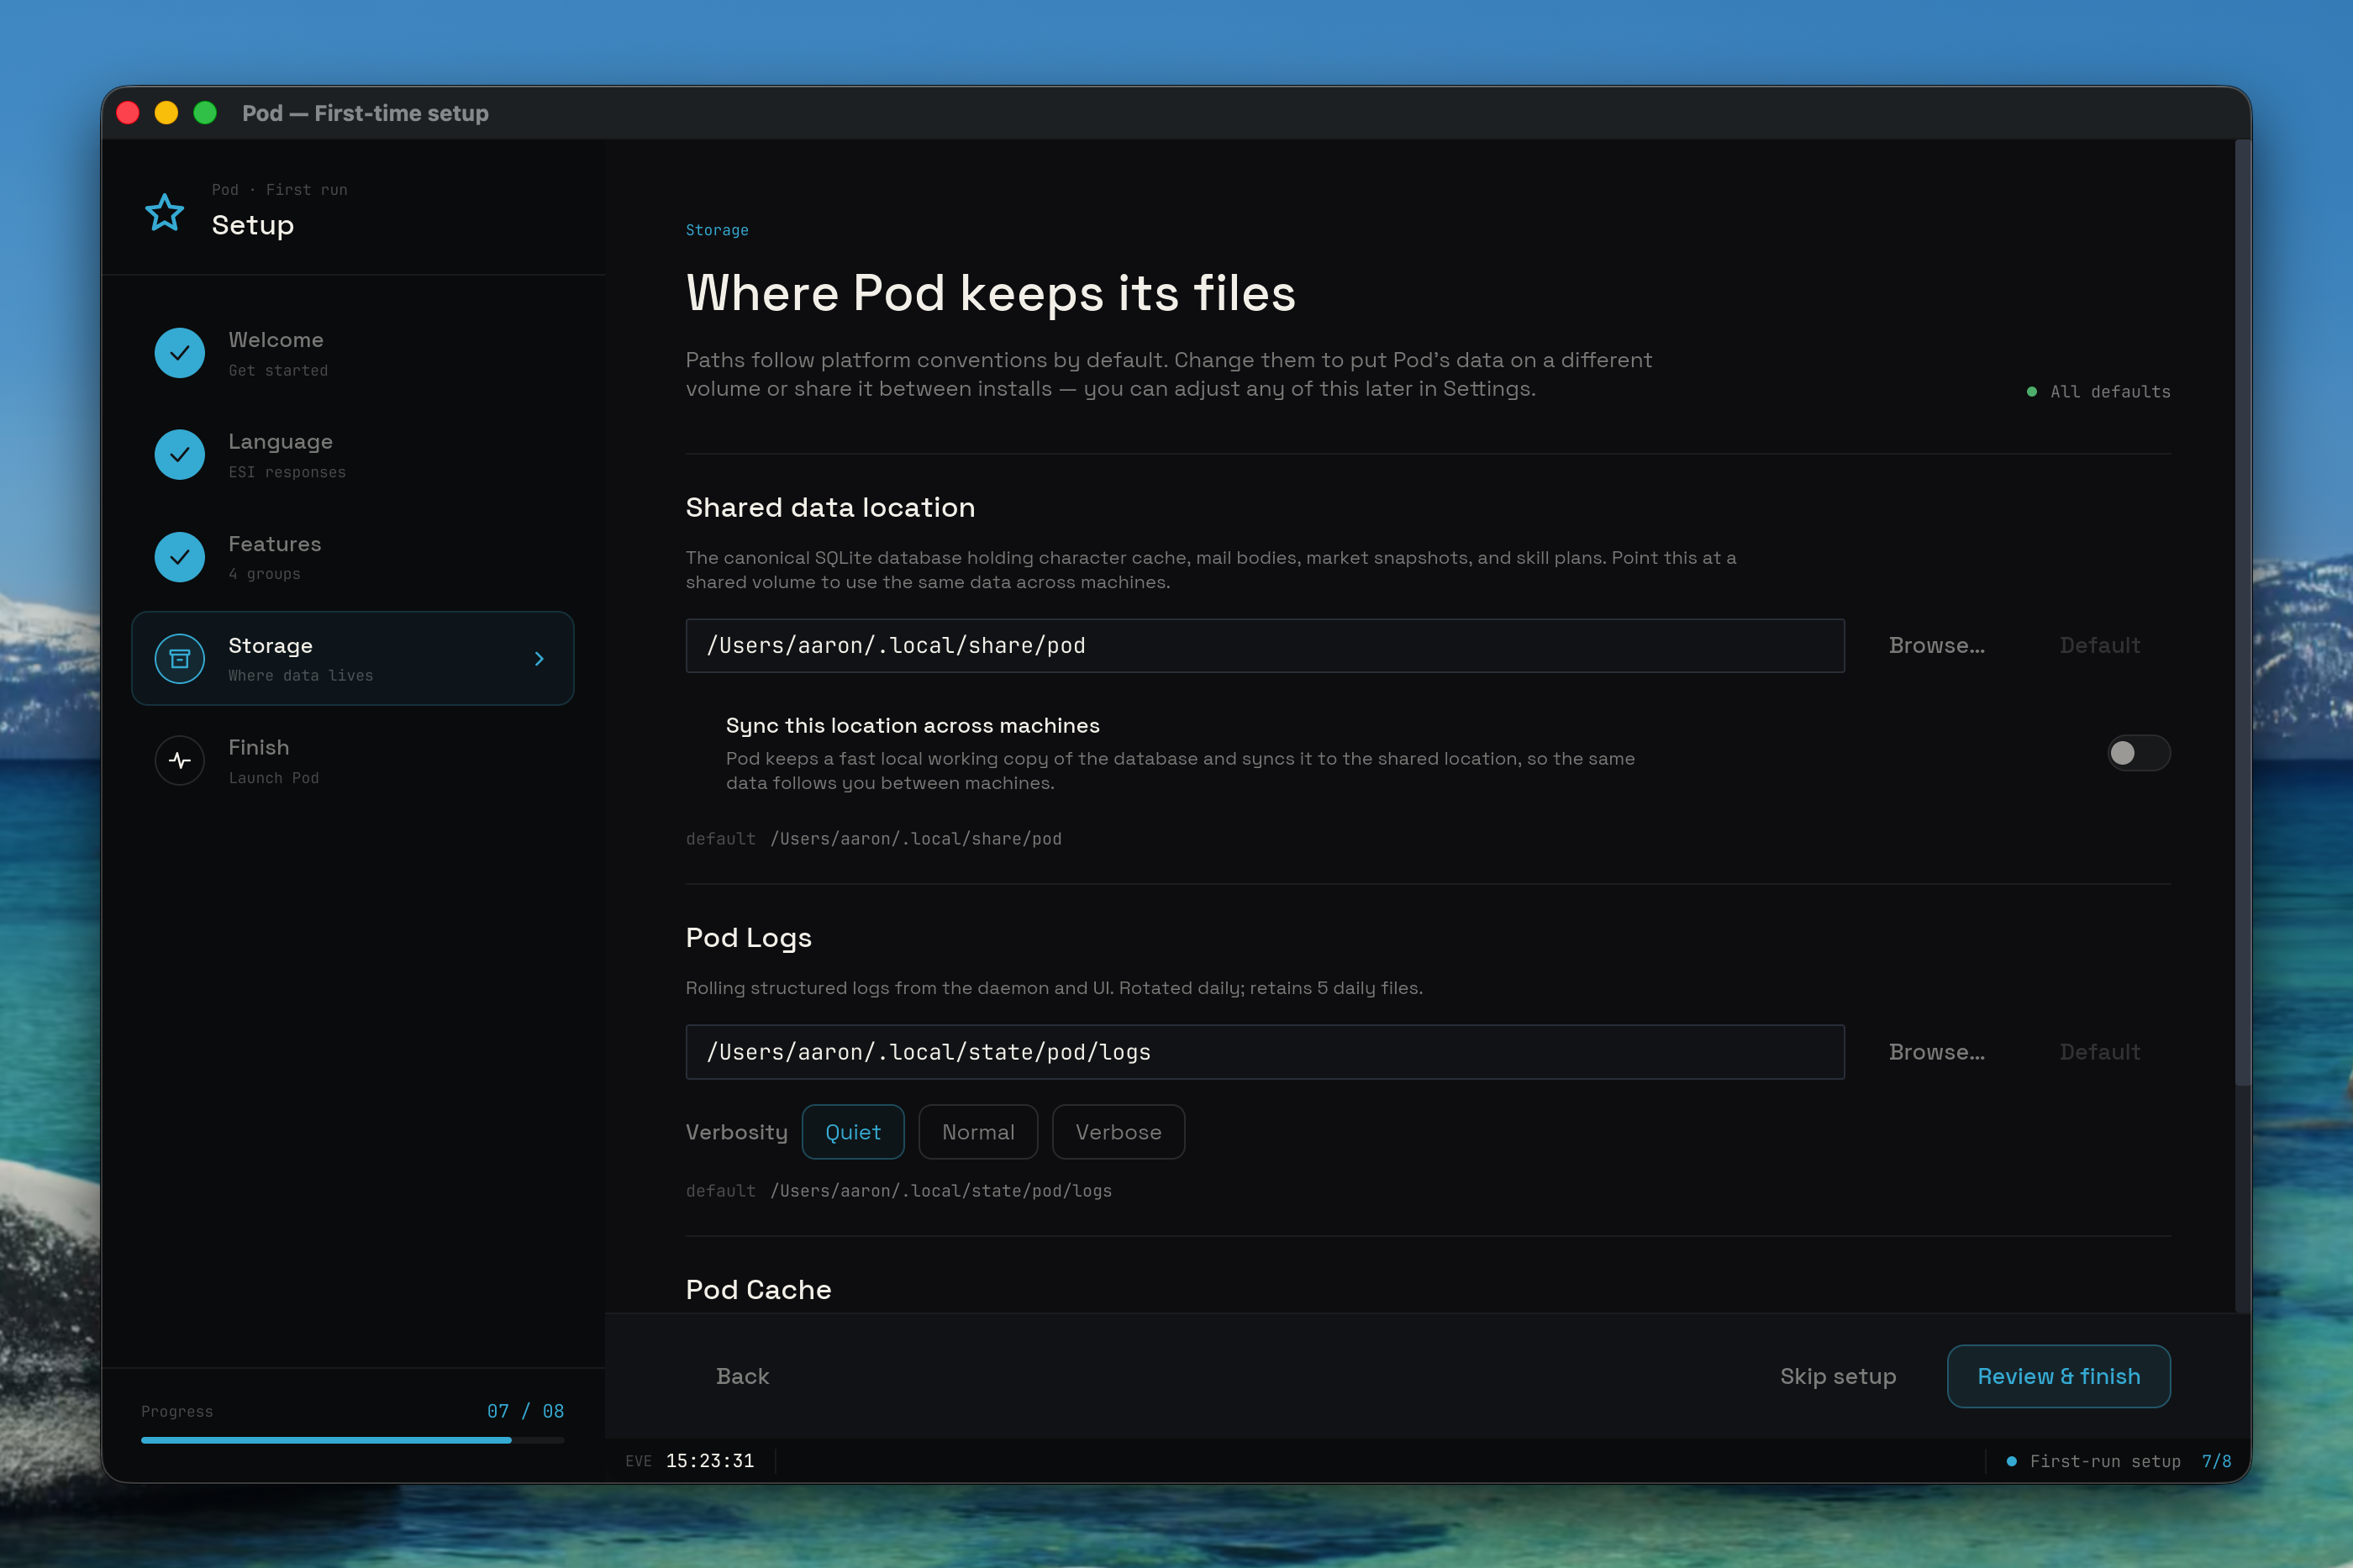
The Storage screen sets where Pod keeps its files. It lists three paths: the database, the logs, and the cache. Each path has a text field you can edit, a "Browse" button that opens a folder picker, and a "Default" button that clears any override and returns to the platform's standard location. A footnote under each field shows that default path, and an indicator in the header tells you whether the paths are all defaults or how many you have customized.
Two of the rows carry extra controls. The log row adds a verbosity selector for the log level, and the database row adds a network sync toggle that lets a shared database sync across machines on your network. Paths follow platform conventions unless you change them, and you can adjust all of this later in Settings. Press "Review & finish" to continue.
Finish
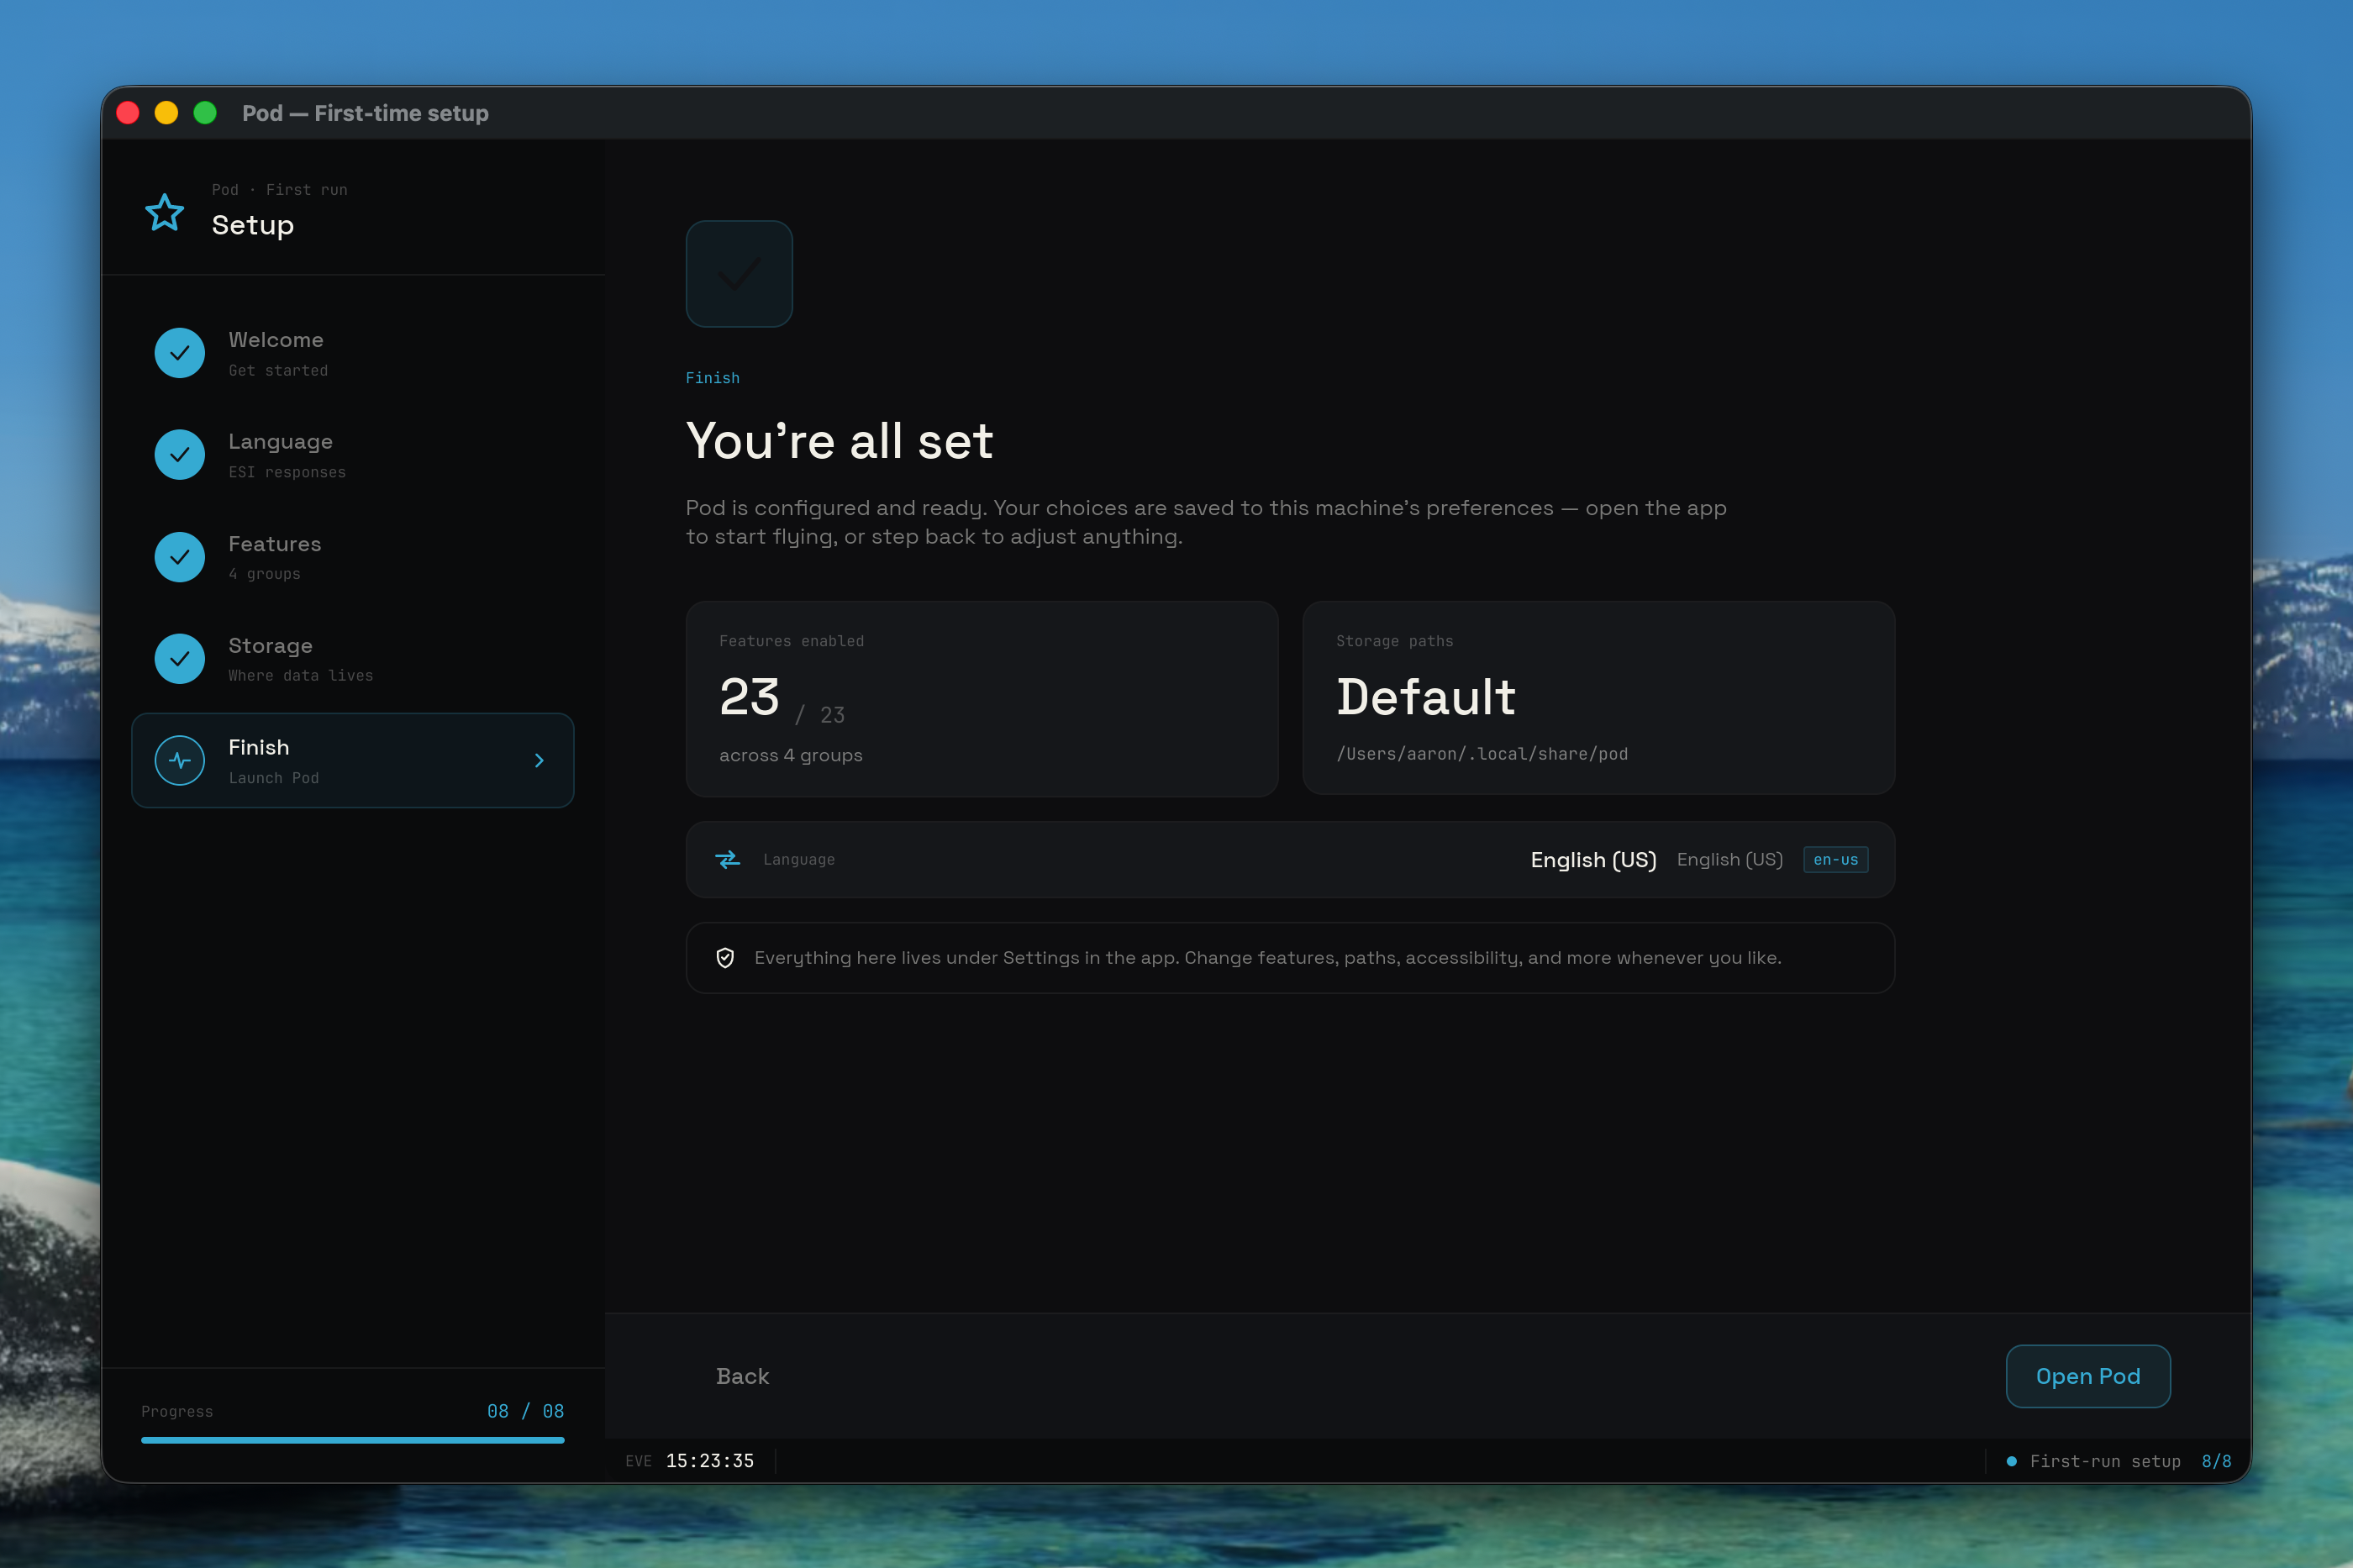
The Finish screen confirms that Pod is configured and ready. It summarizes your choices: how many features are enabled across the groups, whether your storage paths are default or customized along with the database location, and the language you picked. A note reminds you that everything here lives under Settings, so you can change features, paths, accessibility, and more whenever you like.
Press "Open Pod" to save your choices and launch the app. Pod writes the settings to this machine, then starts up the way it does on every later launch, beginning with the splash described in Getting Started.